
Last updated November 4, 2026
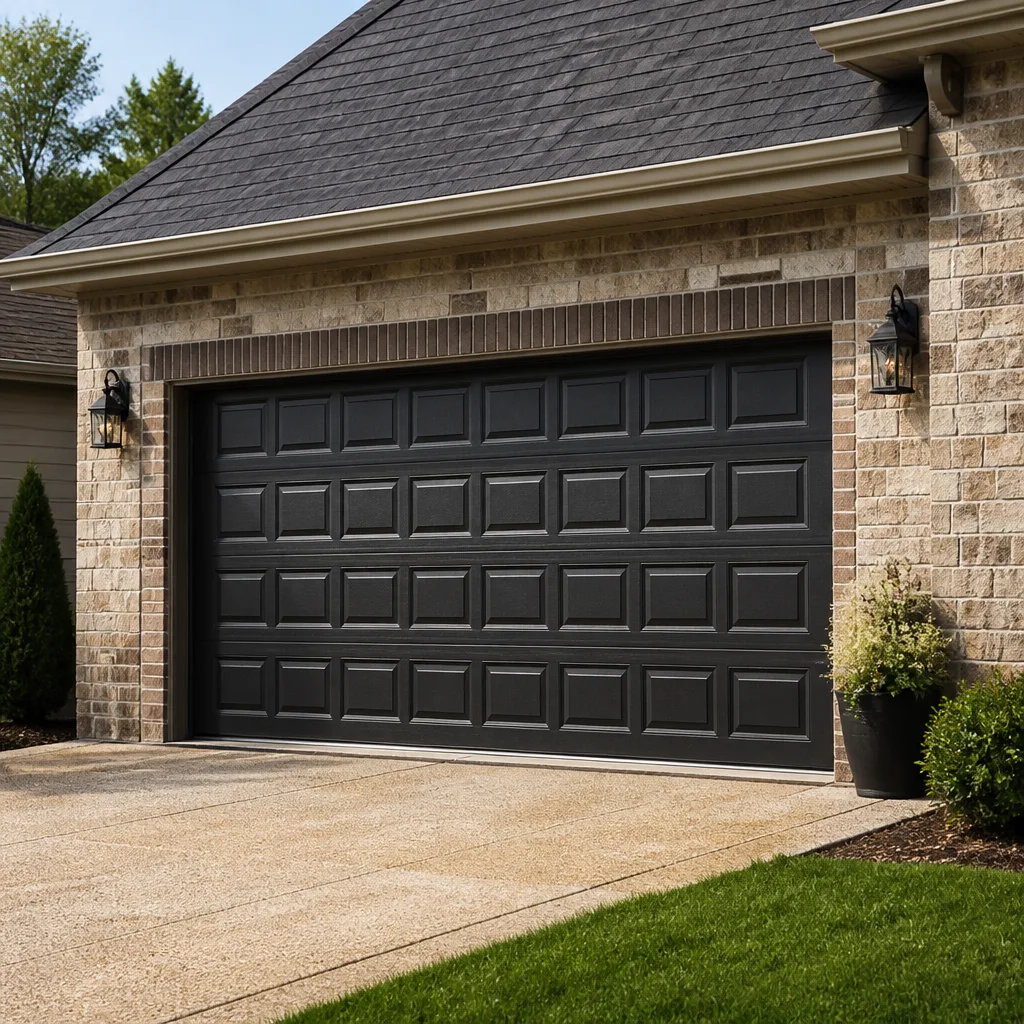 Raised-panel steel
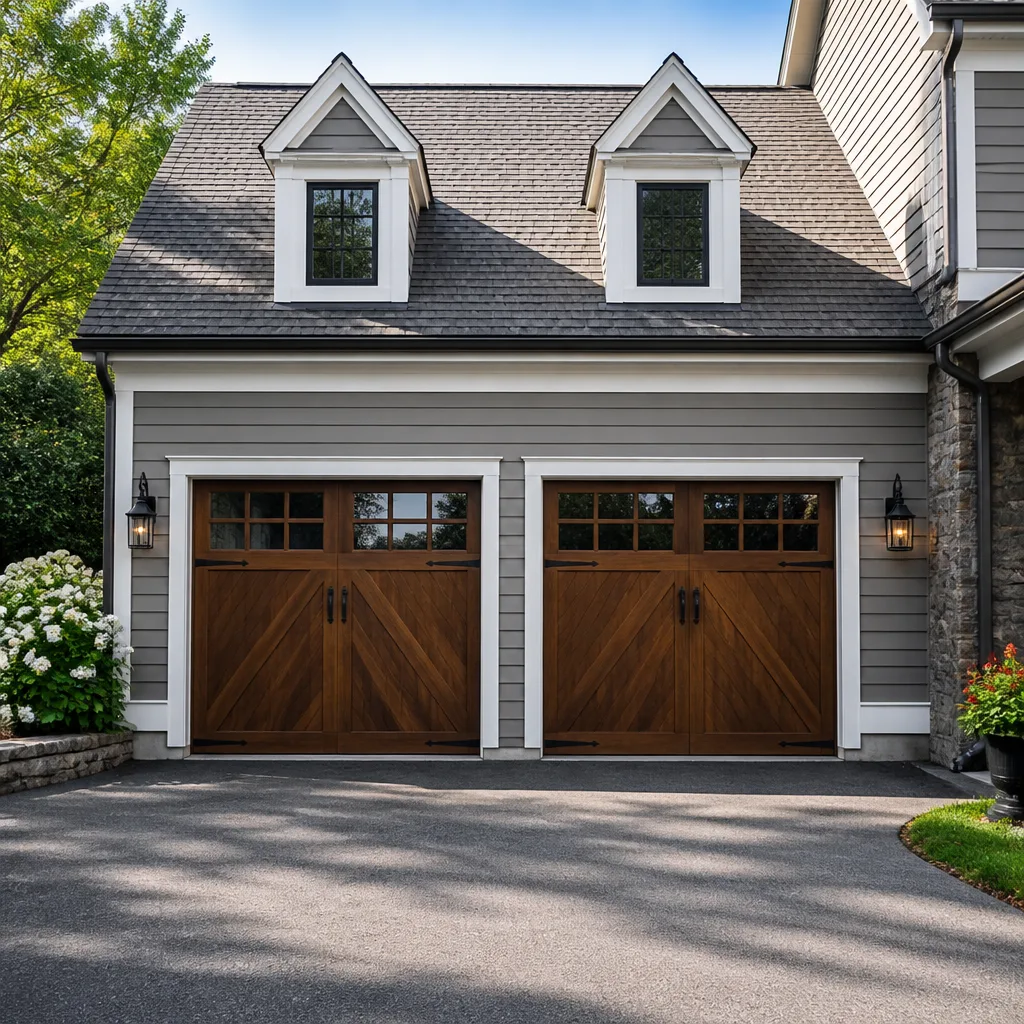 Carriage house
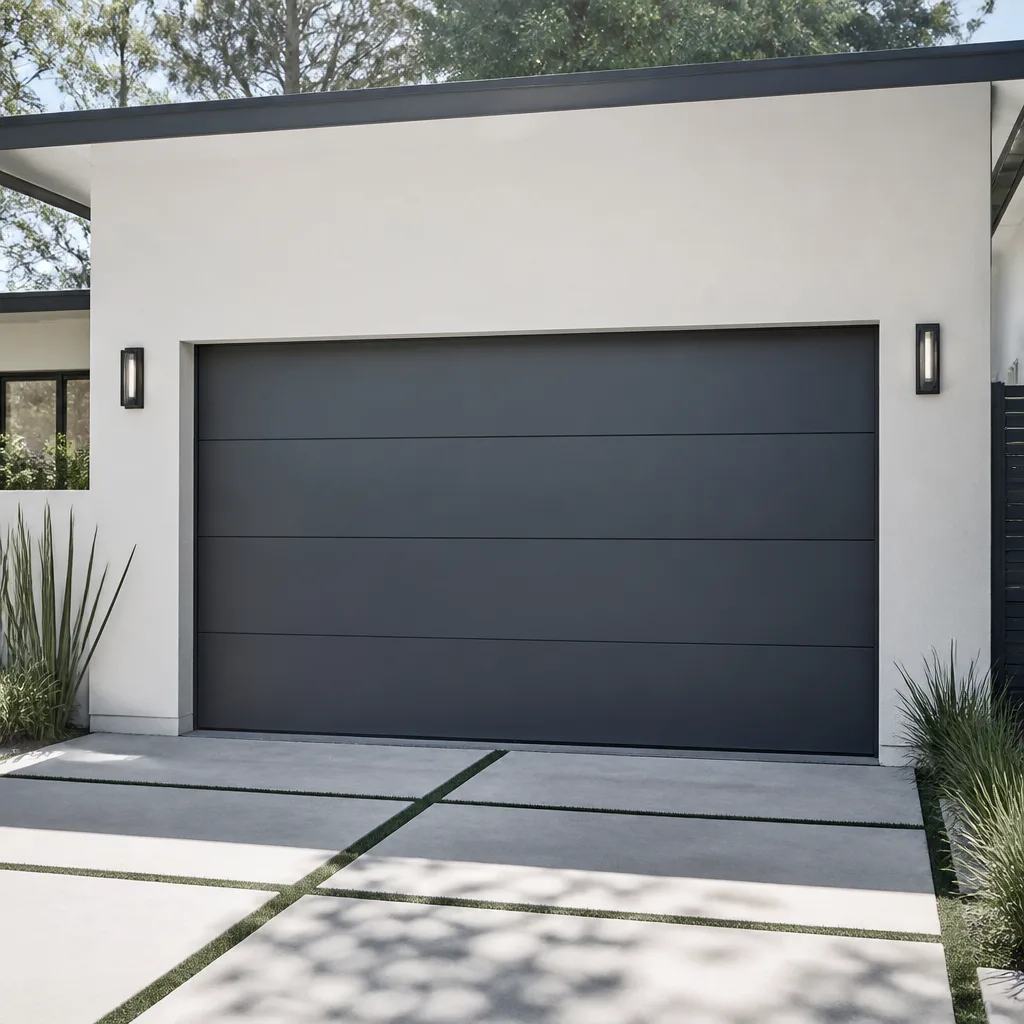 Modern flush
 Full-view glass
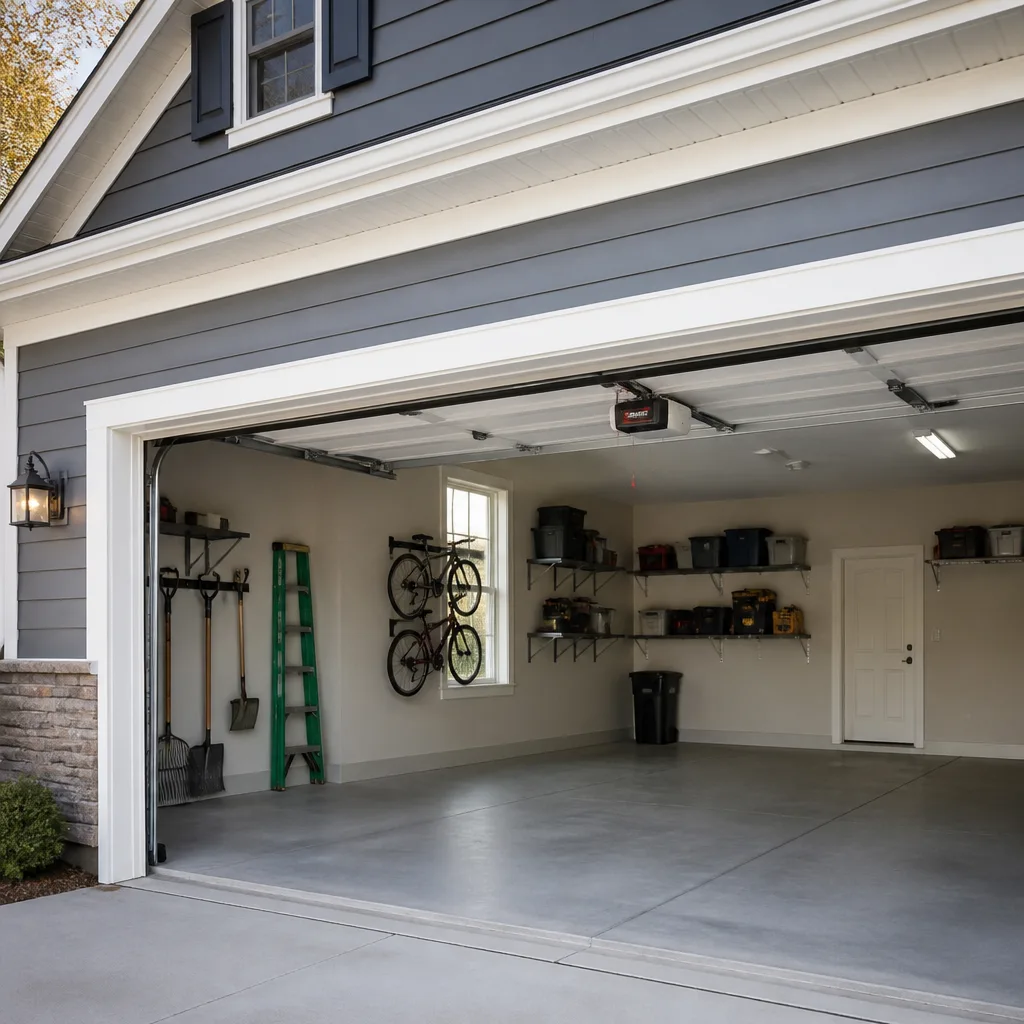 LiftMaster openers
 Chamberlain openers
Full 25-point door and opener safety check with every visit - springs, cables, rollers, tracks, and your LiftMaster or Chamberlain opener included
You get a price before we start. It does not change when the truck arrives.
Get your free estimateGarage Door Repair Maintenance Checklist for San Leandro Homeowners
Most garage door maintenance checklists read like they were written to sell you a can of lubrication spray. This one is not. We’re going to walk through the actual failure sequence: the specific order in which your door’s components wear out, the early warning signs at each stage, and what to do about them in San Leandro’s particular housing stock. Because here’s the thing most people don’t realize: the opener motor almost never fails first. It fails last, after the mechanical parts stop doing their job and force the motor to work harder than it was designed to. Worn rollers become a misaligned track, a misaligned track becomes a strained cable, and a strained cable becomes a burned-out opener. Catch problems at the cheap stage, and you avoid the expensive one.
Quick Answer
A garage door maintenance routine in San Leandro should follow a specific inspection order: rollers first, then cables, then springs, then the opener motor. Check each component every three months if you use the garage as your primary entry point, or every six months if the garage is mostly for storage and cars that don’t move much. Lubricate moving parts twice a year with a lithium-based grease or silicone spray, and never lubricate the tracks themselves. When a door starts making a grinding sound, hesitating mid-cycle, or sagging on one side, that’s a component failure sequence already in motion, and a garage door repair check is the cheapest move you can make.
Table of Contents
- The Component Failure Sequence: Why Inspection Order Matters
- San Leandro Corrosion Points: What the Bay Proximity Actually Does
- The Balance Test: How to Check Your Door Without Touching the Springs
- The Lubrication Matrix: What Gets Lubed, What Never Does, and How Often
- Usage Cycles: Your Schedule Depends on How You Actually Use the Garage
- The Monthly Visual Checklist: 8 Things to Look At
- The Twice-Yearly Service Checklist: What Gets Tested and Tightened
- Common Mistakes to Avoid
- When to Call a Professional
- Frequently Asked Questions
- The Bottom Line
The Component Failure Sequence: Why Inspection Order Matters
Your garage door is not one machine. It’s a system of about a dozen interdependent components, and they don’t all wear out at the same time. They fail in a predictable cascade, and if you know the order, you know what to look for before the damage spreads.
The sequence goes like this: rollers, cables, springs, opener. We’ve seen this pattern repeat across LiftMaster, Chamberlain, and Craftsman systems, because the mechanical cause is the same regardless of what brand name is on the motor housing.
- Rollers go first. Whether you have steel rollers or nylon rollers, the bearings inside wear down from friction every time the door cycles. A worn roller doesn’t roll smoothly, which puts lateral pressure on the track and makes the door work harder. This is the cheapest fix of the entire sequence. A replacement roller costs a fraction of what a spring costs.
- Cables go second. When rollers get stiff, the door starts binding slightly. That binding force transfers to the cables, which are under constant tension from the springs. A cable that frays, rusts, or strands apart next to the bottom bracket is a warning you cannot ignore. Cable failures cause uneven tension, which leads directly to…
- Springs go third. A torsion spring is rated for a certain number of cycles, typically 10,000, and when it breaks, it usually does so with a sound like a gunshot. But before it breaks, it stretches. A stretched spring can’t hold the same tension, which means the door gets heavier, which means the opener motor has to lift more weight than it was designed for. That’s the load problem.
- Opener motor goes last. The motor is not the weak link. It’s the victim. When the rollers, cables, or springs degrade, the motor strains against the extra load, overheats, and burns out its circuit board or gear assembly. Homeowners often blame the opener, because that’s the thing that stopped working. But in our experience, the opener failure almost always traces back to a mechanical issue that was visible months earlier.
This sequence is critical to understand because it dictates the inspection order. If you check the opener first, you’re checking the last thing to fail. Start at the bottom brackets, work up through the rollers and cables, then check the spring, and only then look at the opener.
San Leandro homes, particularly those built in the 1950s through 1970s expansion periods, often have original or older doors with metal rollers and hardware. Those metal rollers last a long time, but when they go, they go hard and fast, and the wear they put on the track accelerates every other component’s failure. Homeowners in the Washington Manor, Davis Tract, and Assumption Parish neighborhoods should pay particular attention to hardware age, because the housing stock there is consistent and the doors tend to be the same era.
San Leandro Corrosion Points: What the Bay Proximity Actually Does
San Leandro is not directly on the coast, but it’s close enough to the San Francisco Bay that overnight moisture is a real factor, especially in the marina-facing and lower-elevation areas. Morning fog and condensation cycle through the year, and that moisture settles on metal. What does that mean for your garage door?
It means corrosion, and it shows up in predictable places. The good news is that the failure points are visible if you know where to look.
- Bottom brackets and fasteners. These sit closest to the ground, where splashed water from rain and morning moisture collects. The brackets hold the cable drums and bear the entire tension load of the cable. When the fasteners rust, they can loosen, and a loose bottom bracket means a cable that can slip. Look for rust streaks, puckering metal, or white powdery oxidation on the bolts.
- Hinge fasteners along the door panels. Each section of a sectional door connects with two or three hinges, and each hinge has two or more screws going into the door. These screws work loose over time from vibration and rust. A loose hinge is not just noisy, it changes the door’s geometry and starts the same binding sequence we described above.
- Weather seal adhesion along the bottom edge and sides. The rubber or vinyl seal at the bottom of the door keeps water, leaves, and pests out of the garage. In San Leandro’s damp microclimate, the adhesive or the seal itself can degrade. If the seal is pulling away from the bottom retainer, water gets under the door and sits on the concrete, which leads to faster corrosion of the bottom bracket and track.
- Track fasteners where they mount to the wall and ceiling. The galvanized track itself resists corrosion well, but the L-brackets and lag bolts that hold the track to the frame are plain steel in many installations. Check for rust above the track and at the wall mount points. If the track shifts even an eighth of an inch, the whole door runs out of alignment.
What we’ve seen on doors throughout San Leandro is that corrosion rarely kills the big components first. It kills the small fasteners, then the big components fail because their mounting points gave way. This is why the visual checks matter before anything else.
One more local note: if your garage sits below the house on a hillside lot, as many do in the Estudillo Estates and Broadmoor areas, drainage matters. Water that runs down the driveway and pools at the garage door is not just an annoyance. It accelerates corrosion on the bottom hardware. Keep an eye on where water goes after a rain, and if it pools at the door, address the drainage before you worry about anything else.
The Balance Test: How to Check Your Door Without Touching the Springs
A properly balanced garage door is one where the springs are doing their job: holding the weight of the door so that the opener only has to provide the motion, not the muscle. When the springs weaken or stretch, the door gets heavy, and the opener starts working beyond its rating. You can feel that imbalance without ever touching a spring or a cable, and we recommend every homeowner know this test.
Here’s the procedure, step by step:
- Disengage the opener. Pull the red emergency release handle that hangs from the opener rail. This disconnects the door from the opener carriage. The door now operates manually.
- Lift the door by hand to about waist height, around three feet off the ground. Use the handle or the bottom edge, not the panels or any moving part. A properly balanced door should stay where you put it, held in place by the spring tension.
- Let go slowly and watch what happens. If the door stays at waist height, the springs are holding proper tension. If it drops, the springs are weakening or under-tensioned. If it shoots upward, the springs are over-tensioned, which is also a problem.
- Do the same test at two other positions: one about six inches off the ground, and one about halfway up the opening. A door that behaves at one height but not another has a tension or track issue at a specific point in its travel.
- Re-engage the opener by pulling the release handle again and running the opener until the carriage latches back onto the door. You’ll hear it click into place.
Important safety note: this test involves lifting a heavy door. If the door is visibly misaligned, if a cable is frayed, or if you hear grinding while lifting, stop and call a professional. The tension hardware on a garage door is under extreme load, and a spring that loses tension suddenly is genuinely dangerous. We never recommend homeowners touch the springs, the cables, or the spring anchor brackets. The balance test is the safe way to check spring health because it doesn’t require touching any of the tension hardware.
In our experience with San Leandro doors, balance issues show up most often on older doors that have never had a spring replacement. A spring rated for 10,000 cycles lasts about 7-10 years for the average household, and many original doors from the 1990s and early 2000s are past that point. If your door fails the balance test, the fix might be a spring replacement, not a new opener, and that’s a conversation worth having before the motor fails.
The Lubrication Matrix: What Gets Lubed, What Never Does, and How Often
Lubrication is the most misunderstood part of garage door maintenance. Most people either do it wrong or don’t do it at all, and both choices cause problems. Here’s the specific breakdown of what to lubricate, what to leave alone, and what products to use.
What to lubricate, and with what:
- Rollers: the bearings inside the roller, not the roller face. Use a silicone-based spray or white lithium grease. Apply a small amount to the bearing area where the roller meets the stem. Do this twice a year in San Leandro’s climate, since humidity accelerates drying.
- Hinges: the pivot points where the hinge plates fold. A lithium-based grease applied to the hinge pin works best. Hinges are the most neglected lubrication point on a garage door, and they get noisy when dry.
- Springs: torsion springs need a light coat of lubricant to prevent rust and keep the coils from binding. Use a silicone spray designed for garage door springs. Spray the top of the spring, let it run down into the coils. Do not soak it. Annually is enough unless you see surface rust starting.
- Bearing plates: the end bearing plates at each end of a torsion spring tube. These hold the spring shaft and need a lithium grease touch once a year.
- Opener chain or screw drive: if you have a LiftMaster, Chamberlain, or Craftsman chain-drive opener, the chain needs lubrication annually. A light machine oil or white lithium grease on the chain, not the sprocket. Screw-drive openers also need a specific grease applied to the screw shaft. Belt-drive openers require no lubrication of the belt itself.
What to NEVER lubricate:
- The tracks. This is the most common mistake we see in San Leandro garages. The track is not a bearing surface. If you spray lubricant on the track, the rollers slip instead of rolling, and that actually accelerates wear. The track should stay dry and clean. If your door is noisy because the rollers are dragging on the track, the problem is the roller, not the track. Replace the roller.
- The bottom seal or weather stripping. Some sprays degrade rubber and vinyl. Leave the seal alone.
- The opener circuit board, sensors, or any electrical connection. Lubricant has no business near electronics, and a spray can conduct or attract dust.
For San Leandro specifically, we recommend a twice-yearly lubrication schedule: once in the fall, before the damp winter months, and once in the spring, after the rain has passed. The fall application matters more here because that’s when morning condensation is most consistent. A dry bearing in a damp garage rusts, and a rusted bearing seizes, and a seized roller starts the failure sequence all over again.
Usage Cycles: Your Schedule Depends on How You Actually Use the Garage
Here’s the thing about maintenance checklists: they assume everyone uses their garage door the same way. You don’t. A household in the Cherrywood or Bonaire area where the garage is the primary entry point, opening and closing four to ten times a day, puts more wear on the door in one month than a household that uses the garage for weekend projects and occasional storage does in a year.
So instead of a one-size-fits-all schedule, match your inspection frequency to your usage pattern.
High-use household (garage is the primary entry, 4-10 cycles per day):
- Visual inspection: monthly. Spend five minutes looking at the rollers, cables, hinges, and brackets while the door is closed.
- Balance test: every three months. Springs endure the most wear in a high-use door.
- Lubrication: every three months, or as soon as you hear a new squeak or grinding sound.
- Professional inspection: annually. A specialist can catch the things a visual check misses, like hairline cracks in the spring or early cable fraying inside the drum.
Moderate-use household (2-4 cycles per day, some days more):
- Visual inspection: quarterly.
- Balance test: every six months.
- Lubrication: twice a year, fall and spring.
- Professional inspection: every 18 months to 2 years.
Low-use household (garage mostly storage, door opens once a day or less):
- Visual inspection: every six months.
- Balance test: annually.
- Lubrication: annually. Low-use doors actually suffer more from drying out than from wear, because they sit for long periods. A door that sits for two weeks between cycles still has its springs under full tension, and the lubrication dries out.
- Professional inspection: every 2 years is often enough, but if the door is original from the 1980s or 1990s, an opener or spring replacement is overdue regardless of how little the door moves.
One specific scenario we see in San Leandro: a home where the garage was converted to a workshop or a gym and the door barely moves. The owner assumes the door is “like new” because it’s rarely used. Then one day the cable snaps or the spring breaks, and it’s a surprise. It shouldn’t be. Springs age with time and tension, not just with cycles. An unused door still has a loaded spring, and a loaded spring still has a lifespan. Don’t let low usage fool you into thinking the door doesn’t need attention.
The Monthly Visual Checklist: 8 Things to Look At
This is the fast version of the inspection, the one that takes five minutes while the door is closed and you’re standing in the garage. No tools, no touching the hardware, just eyes and ears.
- Look at the rollers in the track. Are they crooked? Missing a wheel? Flat-spotted? A flat-spotted nylon roller makes a thumping sound every time it passes the same point in the track.
- Look at the cables on both sides. Are they shiny and taut, or are they fuzzy, rusted, or frayed? Frayed strands near the bottom bracket are a sign the cable is close to failing.
- Listen to the door cycle. Is it smooth, or is there a grinding, scraping, or metal-on-metal sound? A smooth door is a healthy door. A grinding door is a door telling you something is dry or misaligned.
- Check the spring for gaps or rust. A torsion spring that has a visible gap in the coils has broken. Surface rust is an early warning sign that the spring is aging, even if it hasn’t failed yet.
- Look at the track alignment. Stand back and sight down the track from the header to the floor. Does the track curve smoothly, or is it pinched, bent, or shifted? A track that’s been hit by a car or a ladder flexes inward, and the door will bind at that point.
- Check the weather seal. Is it attached all the way across the bottom? Is it torn, brittle, or pulling away at the ends? A compromised seal lets in water and debris, both of which accelerate corrosion on the bottom hardware.
- Inspect the hinge screws and fasteners. Look at each hinge on each panel. Are the screws seated flush? Is there rust staining around the screw heads? A loose hinge makes a rattling sound and changes panel geometry.
- Test the auto-reverse safety sensors. With the door opening, place a solid object like a 2×4 flat on the floor in the door’s path. The door should reverse before touching it. This is a safety feature, not a convenience, and it’s required to work on every installation.
If any of these checks turns up something wrong, don’t wait for it to get worse. A garage door repair visit is always cheaper than the damage caused by a component that failed completely.
The Twice-Yearly Service Checklist: What Gets Tested and Tightened
Twice a year, in the spring and fall, the garage door deserves a deeper check than the monthly visual pass. Some of these items you can do yourself with basic tools. Others are best left to a garage door technician who works on these systems every day.
Do it yourself:
- Tighten all hinge fasteners and track mounting bolts. Use a socket wrench or a screwdriver to snug down every fastener you can see. Don’t over-torque and strip the screws. The goal is to eliminate any play that has developed over the past six months.
- Lubricate the rollers, hinges, springs, and drive chain per the matrix above.
- Run the balance test described earlier. If the door fails, call a professional before the spring lets go completely.
- Clean the tracks. Wipe the inside of the track with a dry rag to remove dust, debris, and spider webs. Do not use lubricant. If there’s hardened buildup that won’t come off with a rag, a small amount of mineral spirits on the rag, then dry the track completely.
- Check the opener’s force settings. Most openers, including LiftMaster and Chamberlain models, have a force adjustment that controls how much pressure the motor applies. If the force setting has been bumped up over time to compensate for a heavier door, that’s masking a mechanical problem. The door should be balanced enough that the opener works on its default setting.
Leave to a professional:
- Torsion spring inspection and replacement. Even inspecting a torsion spring closely involves being near a component under extreme tension. A professional knows what a fatigued spring looks like and can safely replace it if it’s near the end of its cycle life.
- Cable inspection and replacement. Cables wind onto drums under load. If a cable slips, it can whip. This is not a DIY job.
- Opener diagnostic work. If your garage door opener repair involves the circuit board, the motor, or the gear assembly, a technician can diagnose whether the failure is electrical or mechanical. Most opener failures we see are mechanical in origin, and replacing the motor without fixing the underlying door issue is just buying another failure.
- Track realignment. A track that’s out of line is under tension from the door’s weight. Straightening it involves releasing tension and resetting the door in the track, which is specialized work.
We’ve worked on doors of every major brand, from Clopay-steel doors to Raynor systems, and the principles of the annual service don’t change much between them. What changes is the hardware condition, and in San Leandro’s older housing stock, the hardware condition varies wildly from one garage to the next.
Common Mistakes to Avoid
- Lubricating the tracks. This is the single most common mistake, and it actively makes the problem worse. The track is not a bearing surface. Sprays attract dust, and dust on a lubricated track causes the rollers to skid instead of roll. Keep the tracks clean and dry.
- Waiting for the loud noise to go away on its own. A door that has started grinding, thumping, or squealing will not self-correct. The noise is the sound of wear, and wear doesn’t reverse. The longer you wait, the more components get involved.
- Replacing the opener when the problem is the door. When a LiftMaster or Chamberlain opener burns out, it’s usually because it has been lifting a door that was too heavy for too long. A new opener on an unbalanced door will fail the same way. In our experience, the mechanical problem was visible months before the electrical one.
- Ignoring a sagging or unlevel door. A door that hangs crooked is a door with uneven tension, a shifted track, or a failing cable. Every cycle it runs crooked adds wear to the rollers and hinges. This problem compounds quickly.
- Doing spring work as a DIY project. Torsion springs store enough energy to seriously injure or kill a person. There is no safe way to replace one without the right winding bars, the right training, and the right respect for the tension involved. This is the one job we tell every homeowner to never attempt.
- Using the wrong lubricant. WD-40 is not a garage door lubricant. It’s a solvent and water displacer, and it strips the lubricant that was there. Use white lithium grease or a silicone-based spray specifically made for garage doors. Using the wrong product means a dry bearing a month later.
- Skipping the auto-reverse sensor test. The safety sensors on either side of the door are the only thing standing between a closing door and a child or pet. They should be tested monthly. If they don’t reverse the door, the system is unsafe, and the opener should not be used until it’s fixed.
When to Call a Professional
Some maintenance tasks are yours. Some are not. Here’s the line: if the component is under tension, if the work requires releasing that tension, or if the diagnosis involves the opener’s electrical system, call a professional. A broken spring needs a spring replacement, not a YouTube video. A frayed cable needs a cable replacement, not a pair of pliers. And an opener that runs but won’t lift is a diagnostic problem, not a guess-and-replace problem.
If any of the checks in this guide turned up something wrong, get it looked at. Crestview Garage Door Repair offers free estimates for San Leandro homeowners, and we cover the entire system: door, opener, tracks, springs, and all the hardware in between. Call (855) 356-4591. We answer 24/7. Fast dispatch from 7am to 7pm, Sunday through Friday.
Frequently Asked Questions
Twice a year is the general recommendation for San Leandro’s climate. The fall application is the more important of the two, because it protects the bearings and springs before the damp winter months bring consistent morning condensation. A high-use door, one that opens four or more times a day, benefits from quarterly lubrication.
Yes, most of the monthly and seasonal maintenance is safe to do without ever touching the spring or cable assemblies. The visual checks, the balance test, the lubrication of rollers and hinges, and the tightening of fasteners are all homeowner-appropriate tasks. The line is at anything under tension: springs, cables, and the anchor brackets they connect to. Leave those to a professional.
The balance test is the most reliable early indicator. Disconnect the opener, lift the door to waist height, and let go. If the door stays, the springs are healthy. If it drops, the springs are losing tension and are likely close to the end of their cycle life. Other signs include a visible gap in the spring coils when the door is closed, a loud crack or bang when the spring breaks, and an opener that struggles or strains on every cycle.
Never lubricate the tracks. The track is a guide surface, not a bearing surface, and lubricant causes the rollers to skid, which accelerates wear and makes the door noisy. Also keep lubricant away from the electrical components: the opener circuit board, the safety sensors, and any wiring. Lubricant on rubber or vinyl, like the bottom weather seal, can degrade the material over time.
Because the opener was likely compensating for a mechanical problem it couldn’t see. When rollers wear, cables fray, or springs weaken, the door gets harder to lift. The opener motor strains against that extra load, runs hot, and eventually fails. The door may have looked fine to a casual observer, but the load was climbing for months. We see this pattern regularly with LiftMaster, Chamberlain, and Craftsman openers, and the fix is usually to address the mechanical issue before replacing the motor.
The cost depends on what the inspection finds. A simple lubrication and fastener tightening visit is inexpensive, while a spring replacement or cable replacement is a moderate expense that depends on whether you have a single or double door and whether the parts are standard or custom. The estimate is always free, and the written price is agreed before any work starts. Call (855) 356-4591 for an exact quote for your door.
The Bottom Line
A garage door maintenance routine in San Leandro doesn’t need to be complicated, but it does need to follow the right order. Start with the rollers. Check the cables. Test the springs with the balance test. Don’t blame the opener until you’ve ruled out the mechanical components that actually failed first. Do the visual checks on a schedule that matches how much you use the door, not a schedule you found on a generic website. Keep the lubrication specific and the tracks dry. And when something goes wrong, call a garage door specialist who works on the brand you already have, not a general contractor who will hand you off to someone else mid-project. Your garage door is a 300-pound moving part, and it tells you when it’s in trouble. The question is whether you’re listening.
Written by the team at Crestview Garage Door Repair, serving San Leandro since 2014.
Styles & brands we work with
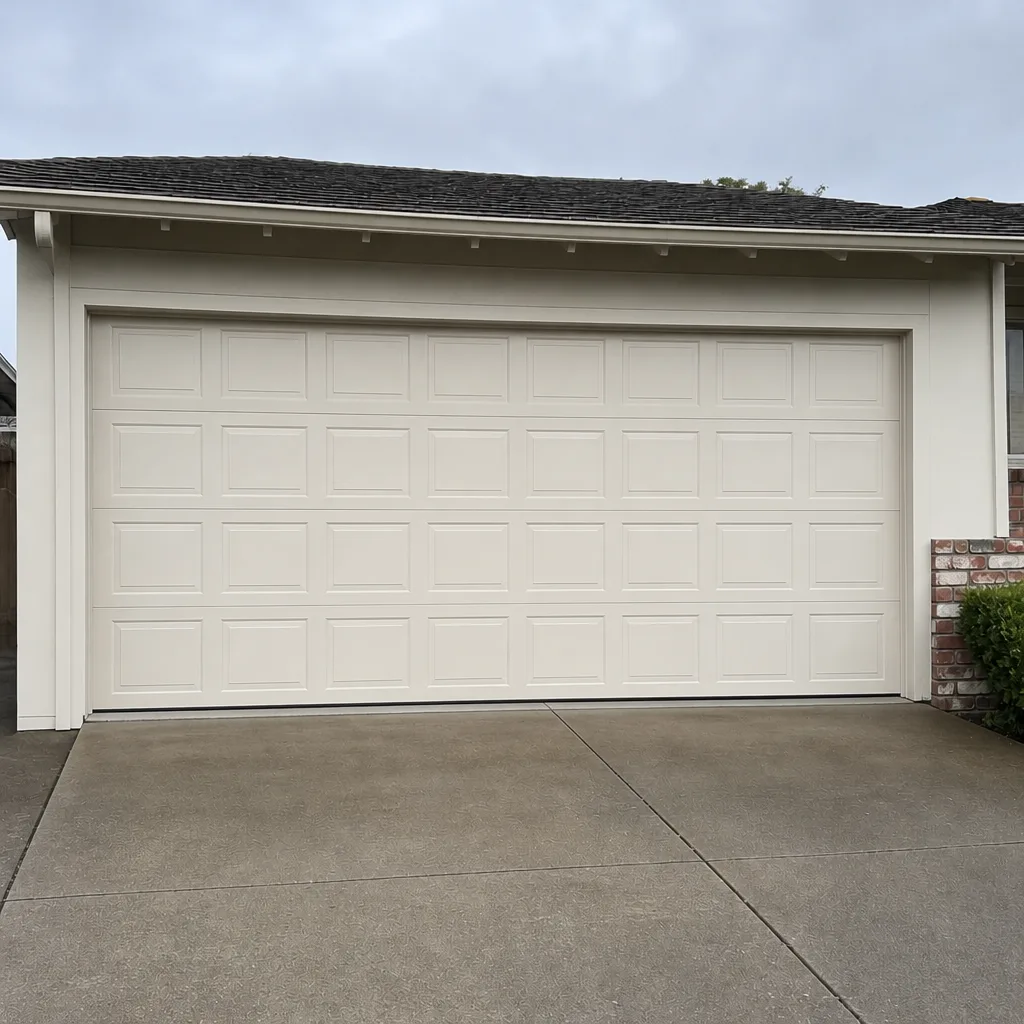
- Raised-panel steel
- Carriage house
- Modern flush
- Full-view glass
- LiftMaster openers
- Chamberlain openers
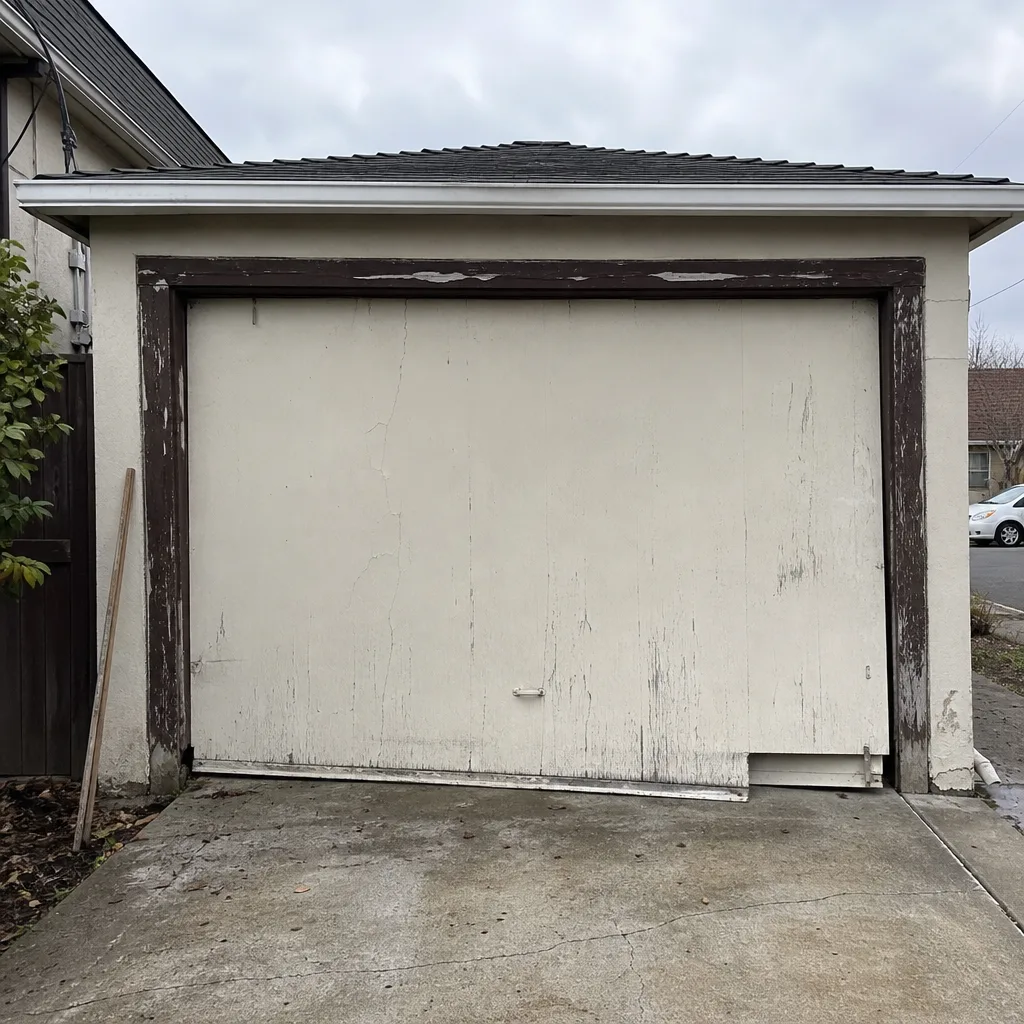
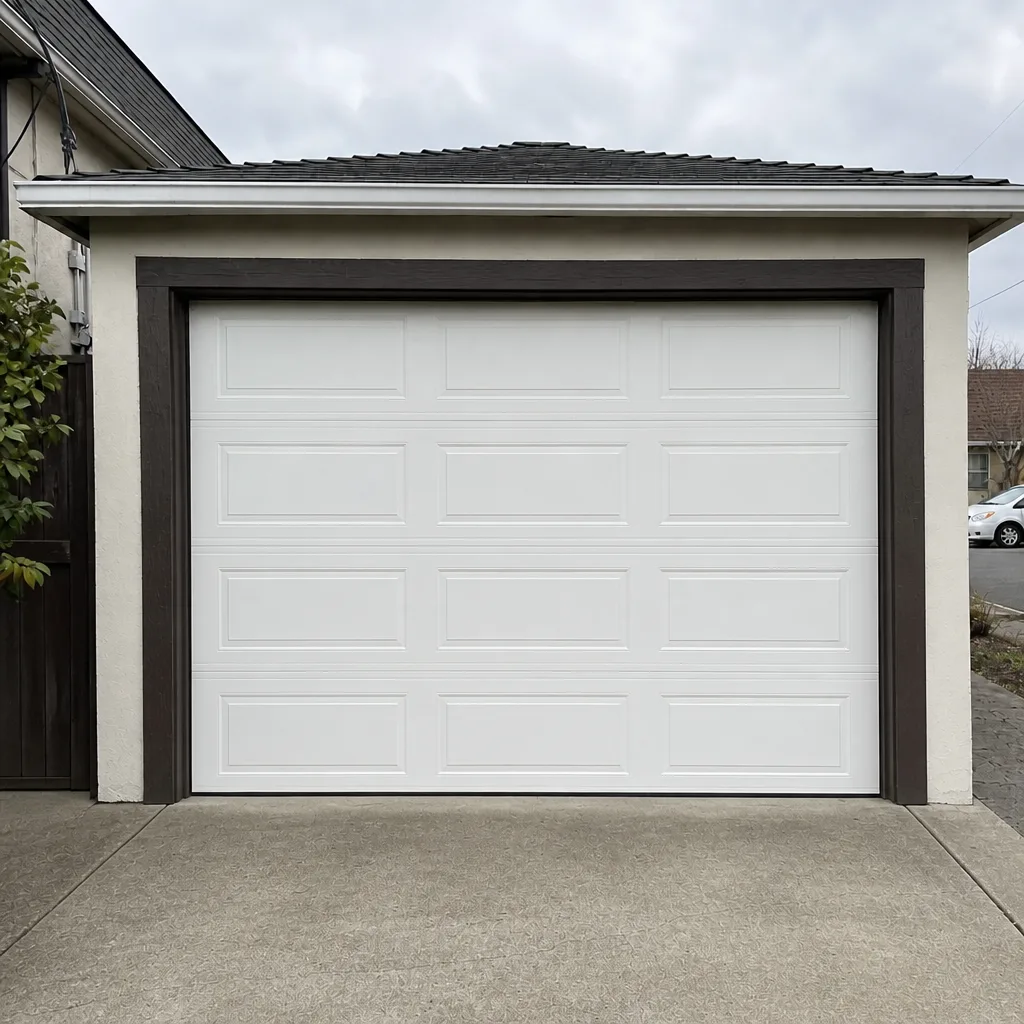
See the difference
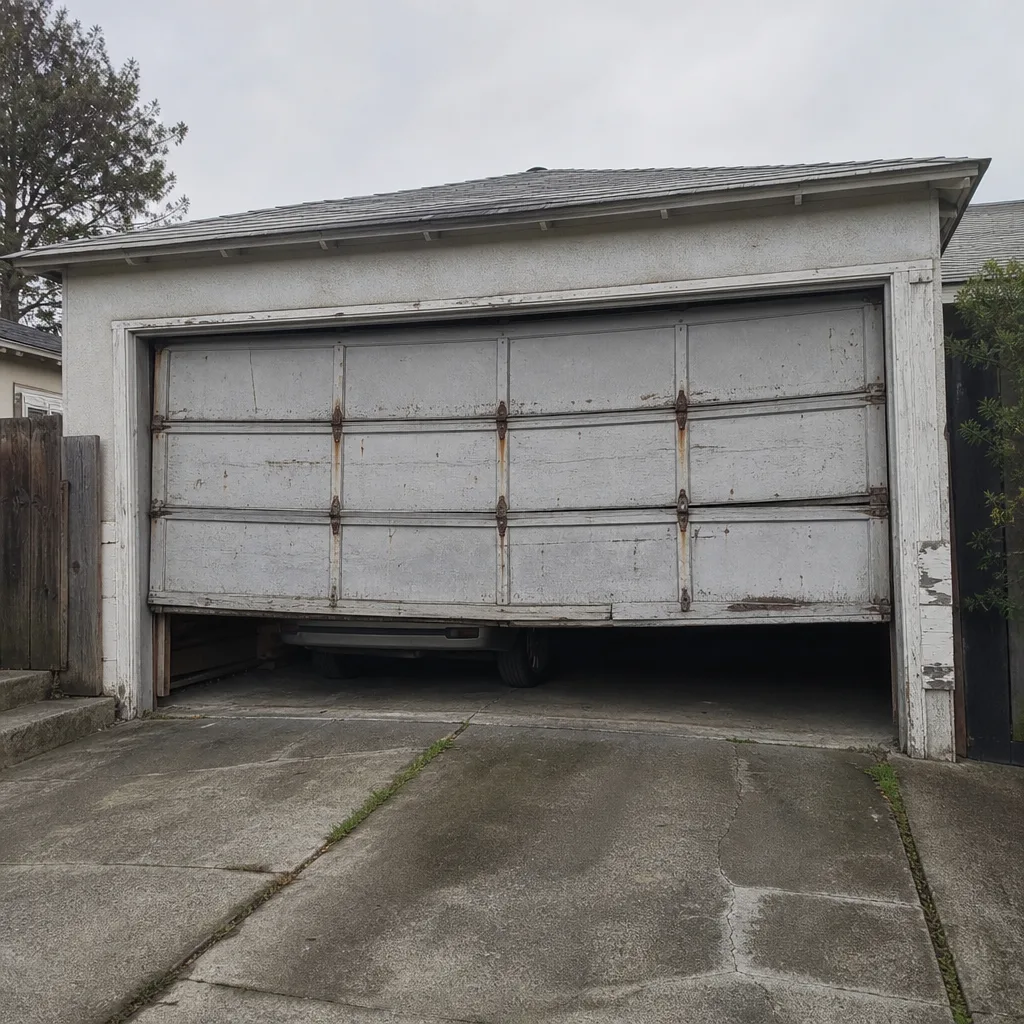 Before
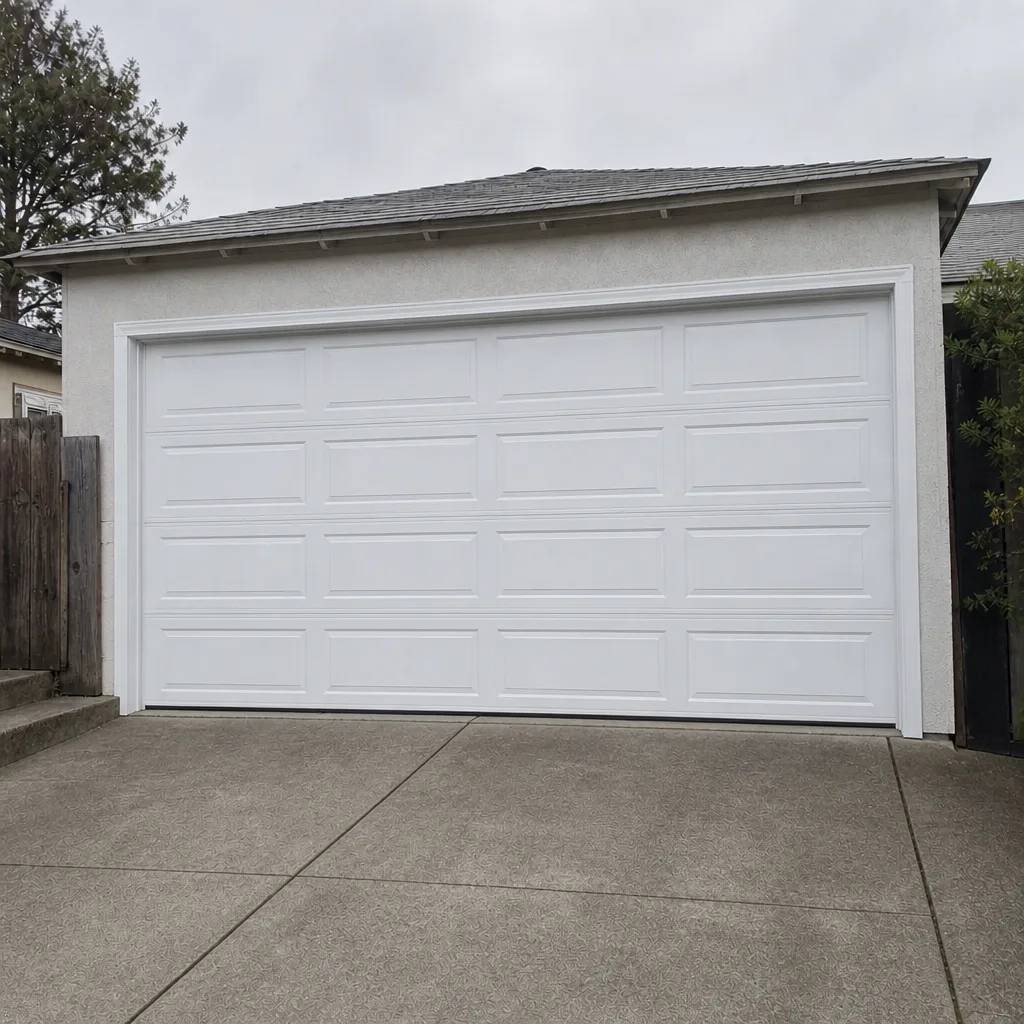 After
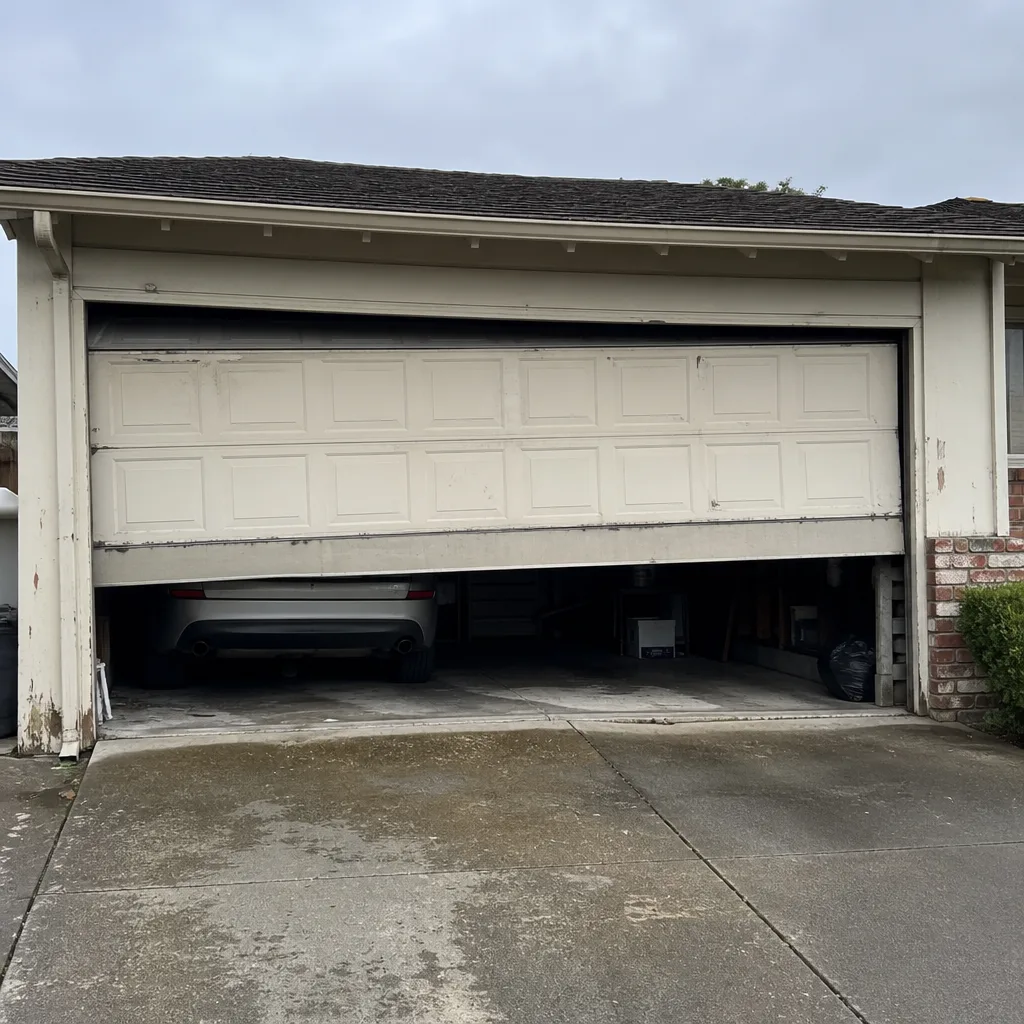 Before
 After
 Before
 After