
Last updated November 4, 2026
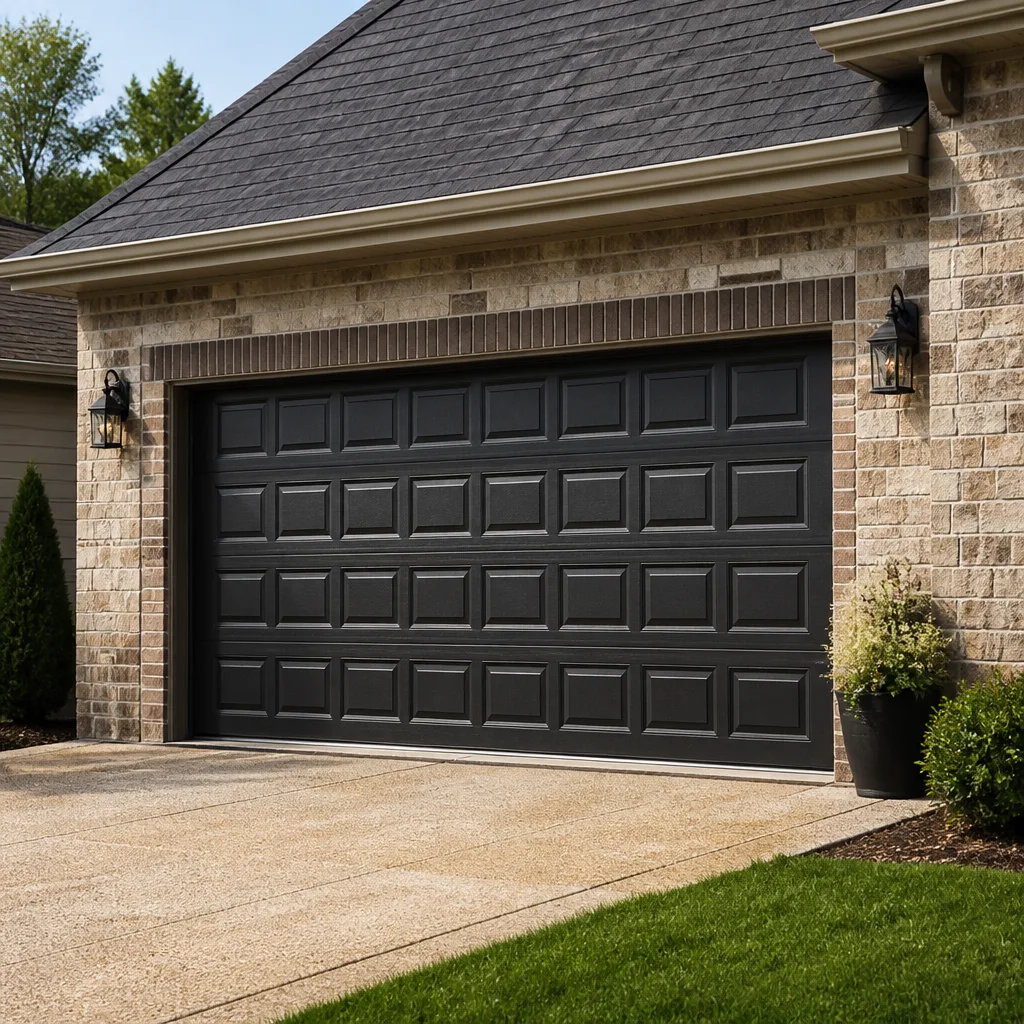 Raised-panel steel
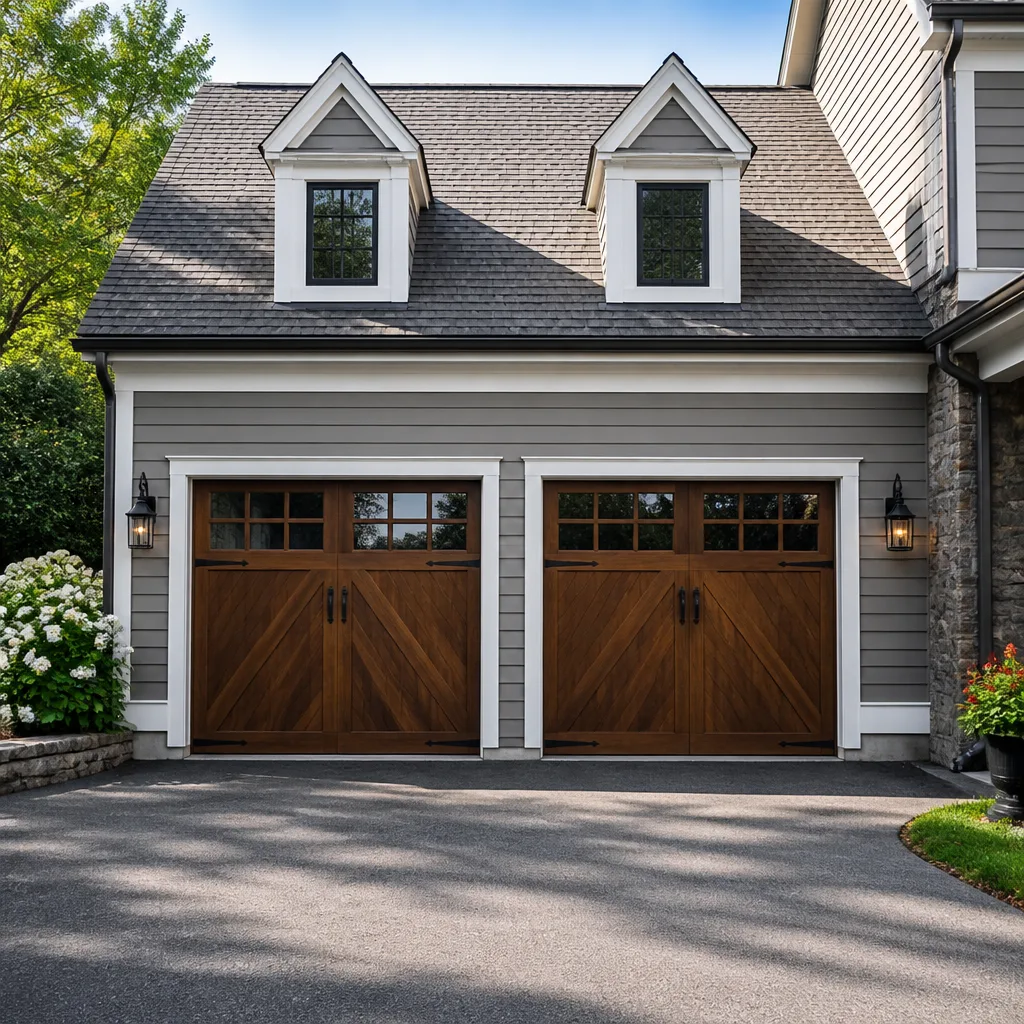 Carriage house
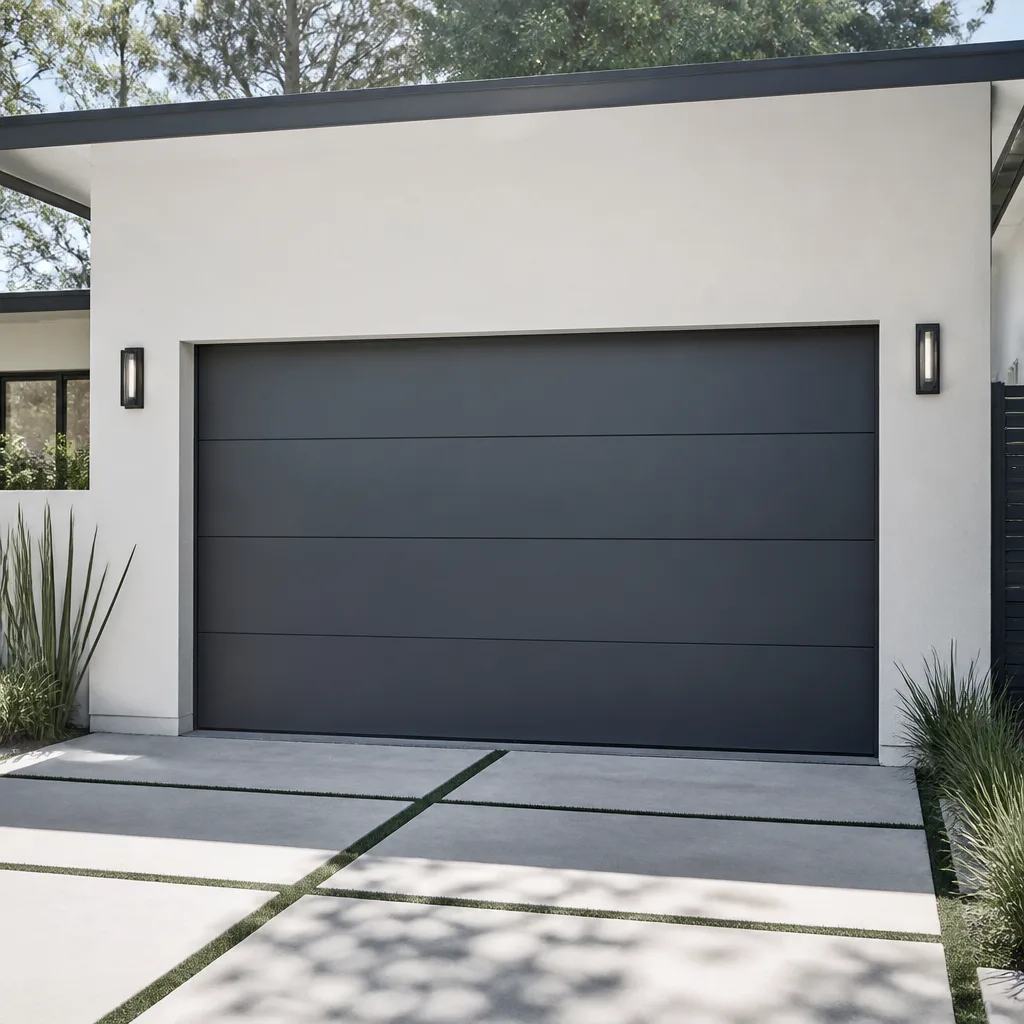 Modern flush
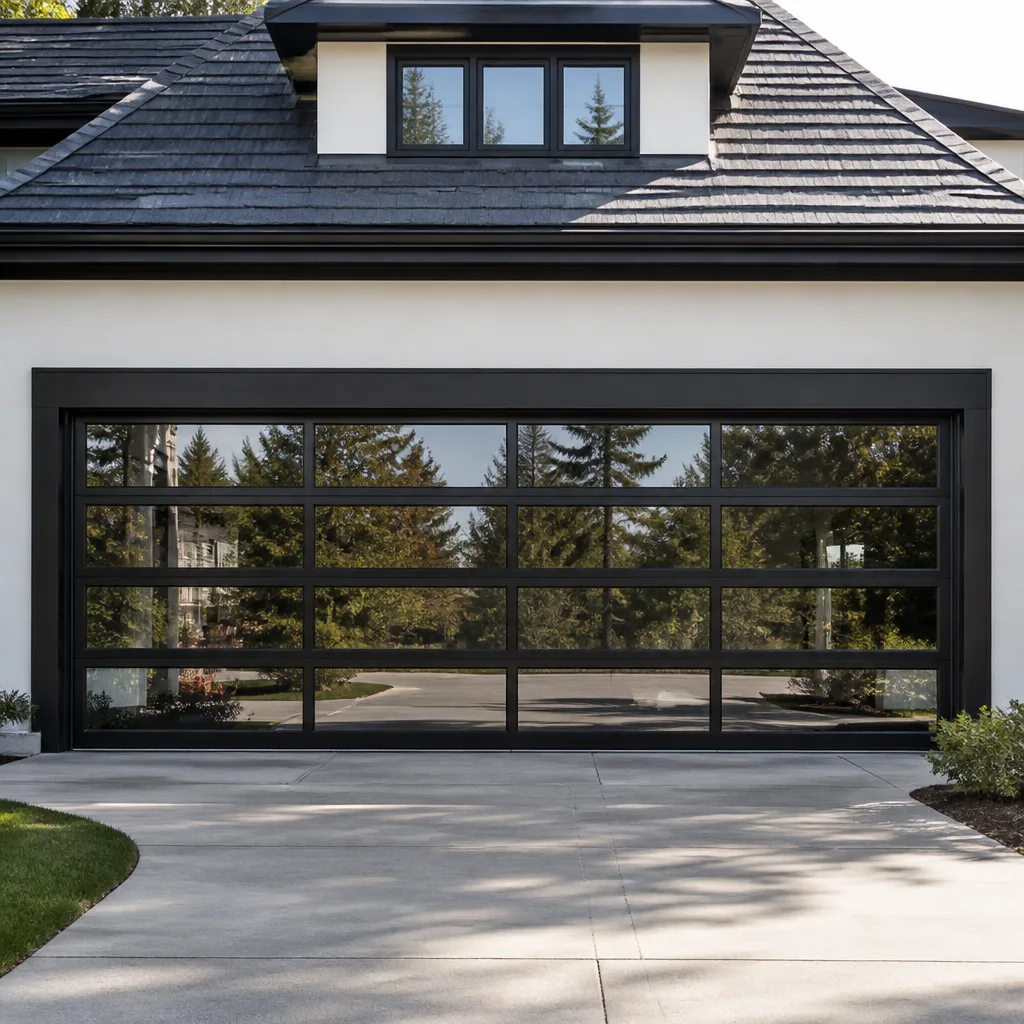 Full-view glass
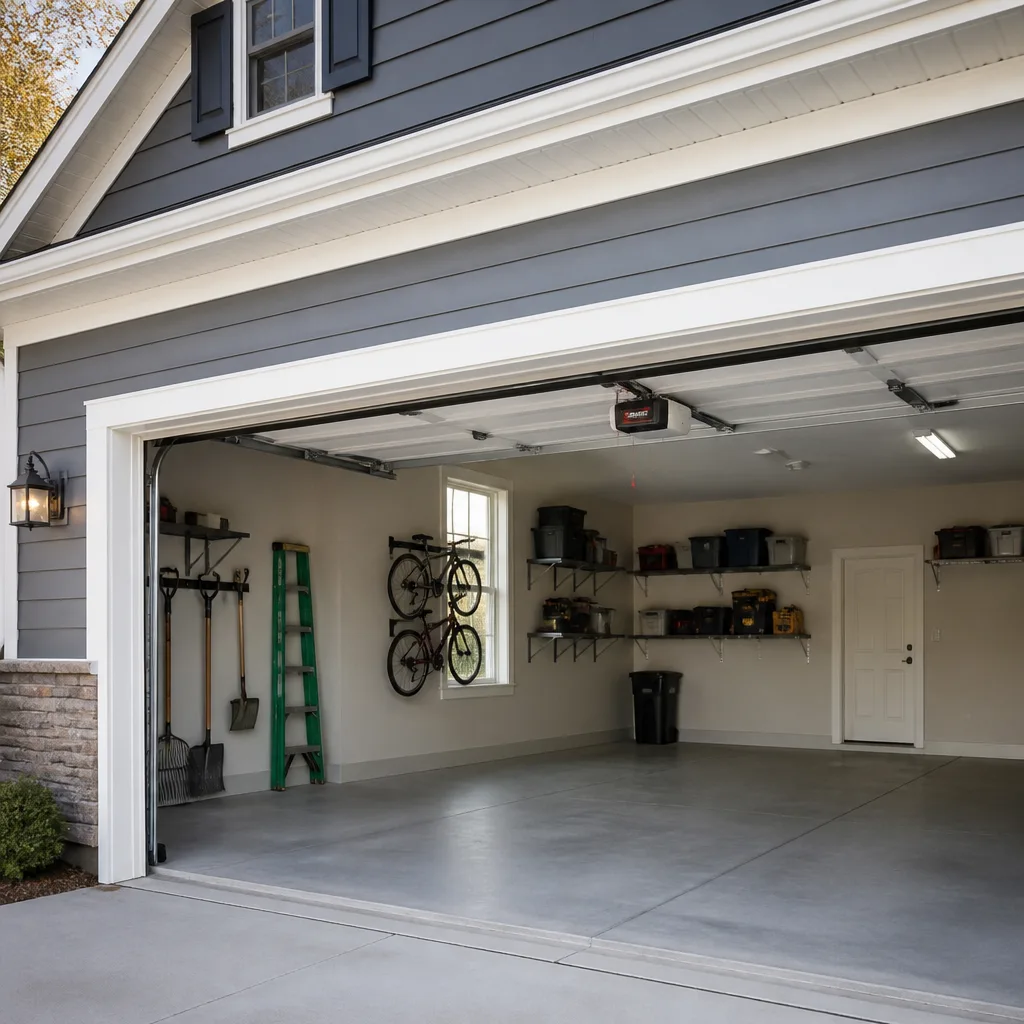 LiftMaster openers
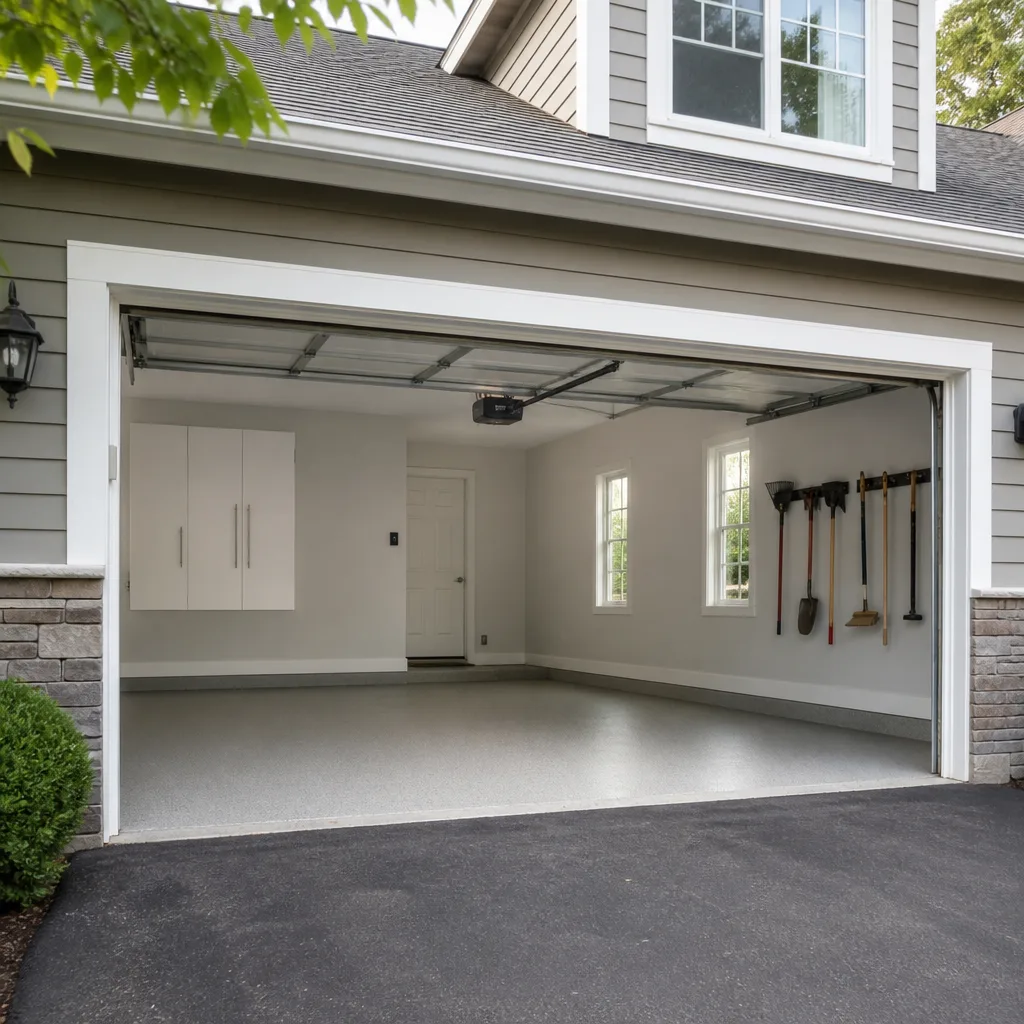 Chamberlain openers
Full 25-point door and opener safety check with every visit - springs, cables, rollers, tracks, and your LiftMaster or Chamberlain opener included
You get a price before we start. It does not change when the truck arrives.
Get your free estimateGarage Door Repair Troubleshooting in San Leandro: Common Problems and How to Fix Them
A door that reverses before it reaches the floor and a door that refuses to move at all share almost nothing in common, mechanically speaking. Yet most troubleshooting guides throw them into the same bucket: “door acting up, try these five things.” That’s why so many San Leandro homeowners replace a perfectly good opener when the real problem is a dying capacitor, or spend an afternoon realigning sensors when the issue is actually a bent track bracket. This guide works differently. We’ll walk you through garage door problems by subsystem, the way a trained technician actually thinks about them, so you can pinpoint what failed before you touch anything.
Styles & brands we work with
- Raised-panel steel
- Carriage house
- Modern flush
- Full-view glass
- LiftMaster openers
- Chamberlain openers
Quick Answer
Garage door troubleshooting in San Leandro starts with identifying which subsystem failed: the opener/motor, the springs, the tracks/rollers, the safety sensors, or the door panels themselves. Most problems fall into one of those five categories, and each has a distinct set of symptoms that point straight to the cause. For safe DIY fixes like sensor realignment or limit adjustment, this guide tells you exactly what to do. For anything involving springs, cables, or significant track damage, call a garage door specialist. The written quote always comes before the work.
Table of Contents
- Think in Systems, Not Symptoms
- Opener Problems: What the Motor Is Trying to Tell You
- Spring Failures: The 300-Pound Truth
- Track and Roller Issues: When the Door Fights You
- Sensor Errors and the San Leandro Salt Air Factor
- Panel Damage: Cosmetic Today, Structural Tomorrow
- What’s Actually Safe to Fix Yourself
- Common Mistakes to Avoid
- When to Call a Professional
- Frequently Asked Questions
- The Bottom Line
Think in Systems, Not Symptoms
Your garage door is a 300-pound moving part, and it’s not one machine. It’s a system of systems. The opener is one subsystem. The springs are another. The tracks, rollers, sensors, cables, and panels each do their own job, and they fail in their own ways. When you call a specialist for garage door repair, the first thing we do is isolate which subsystem is actually at fault. You can do the same thing before you pick up the phone, and it will save you time whether you fix it yourself or call us.
Here’s the diagnostic framework we use. Start at the top and work down:
- Is there power? Check the opener’s LED. Is it blinking? If so, count the blinks. That code is the opener telling you exactly what failed.
- Does the opener run but the door doesn’t move? That points to the springs, cables, or coupler, not the motor.
- Does the door move but struggle, grind, or stop partway? Look at tracks, rollers, and alignment.
- Does the door reverse before closing? Safety sensors or limit settings are the prime suspects.
- Is the problem visible on the door itself? Dents, rust, and sagging panels are a separate category with separate fixes.
San Leandro’s mild climate means you won’t be fighting freeze-thaw cycles or snow load, the way homeowners in the Sierras do. But our proximity to the Bay means salt air is a constant, low-grade presence. It accelerates corrosion on springs and sensor connectors, which is why we see specific failure patterns in San Leandro that a generic nationwide guide won’t tell you about. We’ll get into those patterns in the sections below.
Opener Problems: What the Motor Is Trying to Tell You
Most LiftMaster and Chamberlain openers manufactured in the last fifteen years have a diagnostic LED on the back or side of the motor unit. When something goes wrong, the light blinks in a specific pattern. If you learn to read that pattern, you skip the guesswork entirely. Here are three error codes we see most often in San Leandro garages:
- 1 blink: The safety sensors are misaligned, blocked, or have a wiring fault. This is the single most common opener error we see.
- 4 blinks: The door is detecting an obstruction or the force setting is too sensitive. This often happens after something gets bumped on the bottom edge of the door, or when the door’s travel limits drift over time.
- 5 blinks: The motor has overheated, or the RPM sensor has failed. If the motor was used several times in quick succession, wait 15 minutes and try again. If it recurs without heavy use, you’re likely looking at a failing logic board or motor.
Older Craftsman and Genie units use similar systems, though the blink counts sometimes differ. When we troubleshoot garage door opener repair calls, the number one mistake we see from San Leandro homeowners is unplugging the opener to “reset” it and erasing the error code in the process. If your opener is blinking, note the pattern before you reset anything. That code is free diagnostic information.
Chain-drive LiftMaster units from the last decade also have a known failure point: the plastic drive gear. When that gear strips, the motor runs but the chain doesn’t move. It sounds like a high-pitched whine or a grinding noise from the motor housing. Replacing the gear is a bench repair that a specialist can do on-site in most cases. If you have a belt-drive Chamberlain, the belt itself rarely fails. What fails more often is the tension spring on the carriage, which causes the door to jerk or slip at a specific point in its travel. These are opener problems, not door problems, and that distinction matters because the fix is completely different.
Spring Failures: The 300-Pound Truth
A garage door spring is a tightly wound coil under enormous tension. Torsion springs sit above the door on a shaft. Extension springs run along the horizontal tracks on either side. Both types do one job: they counterbalance the weight of the door so the opener doesn’t have to lift 300 pounds on its own. When a spring breaks, you’ll hear it. It sounds like a gunshot from inside the garage, and after that, the door won’t open at all, or it opens only a few inches before the opener’s safety system cuts out.
Here’s the crucial distinction: a broken spring is not an opener problem. The opener is still working. It’s trying to lift a door that suddenly weighs three times what it should. If you continue pressing the remote button, you’ll burn out the opener motor or strip the drive gear. When a spring breaks, stop using the door immediately and unplug the opener until a technician arrives.
Spring replacement is one of the most dangerous DIY projects in home repair. Torsion springs are wound under hundreds of pounds of force. The winding bars required to adjust them can slip, and when they do, the spring releases that force instantly. People are injured every year by attempting spring work without training. This is the one repair where we draw a hard line: do not attempt it yourself. A specialist can replace both springs (they’re almost always replaced as a matched pair, since they wear evenly) and rebalance the door so it opens smoothly by hand.
In San Leandro, we see spring failures year-round, but the pattern differs from inland areas. The mild weather means springs don’t undergo the thermal cycling that causes fatigue in colder climates. What accelerates failure here is the salt air, which promotes surface corrosion on the coils. A slightly corroded spring is a spring with a shortened lifespan. If your springs are more than seven years old and you can see rust on the coils, replacing them before they snap is cheaper and safer than waiting.
Track and Roller Issues: When the Door Fights You
If your door makes a grinding, scraping, or popping noise while moving, or if it visibly wobbles or sticks partway, the tracks and rollers are the place to look. The tracks are the steel rails that run vertically along the sides of the door and curve back into the garage at the top. Rollers ride inside those tracks, and the door follows the path the tracks define. If a track is bent, misaligned, or loose, the door binds on it.
Here’s a simple test: open the door halfway, release it from the opener (pull the red release cord), and try to move it by hand. A balanced door moves easily and stays where you put it. If it feels heavy, the springs are the issue. If it catches or grinds at a specific point, look at the track and roller at that point.
Some track problems are a one-time event. Someone backs into the bottom track with a car or a trash bin, the track takes a small dent, and the door sticks. That’s a straightforward repair: the affected section gets straightened or replaced, and the door goes back to smooth operation. But we see a recurring pattern in San Leandro garages that points to a different root cause: header bracket failure. The header bracket is the steel plate that anchors the top of the vertical track to the wall framing above the door. When that bracket pulls loose, usually because the original installation used fasteners too short for the load, the track shifts slightly out of alignment. The door starts sticking, someone straightens the track, and a month later it’s sticking again. The telltale sign is a visible gap between the bracket and the wall, or a track that moves when you push on it. If your track keeps going out of alignment, the header bracket is the likely culprit, not the track itself.
Roller wear is another common issue. Nylon rollers with ball bearings run quieter than steel rollers, but the bearings eventually wear out. You’ll hear a rattle or feel a roughness as the door moves. Replacing rollers is a moderate DIY job for the side rollers, but never attempt to replace the bottom bracket rollers yourself. Those brackets are under spring tension and can cause serious injury if mishandled.
Sensor Errors and the San Leandro Salt Air Factor
The safety sensors are the small eyes mounted near the floor on either side of the door opening. They project an invisible beam across the opening, and if anything breaks that beam while the door is closing, the door reverses. This system has prevented countless injuries, and it’s also the source of a huge percentage of “my door won’t close” calls in San Leandro.
The standard fix is simple: check that the sensors are pointing at each other. Each sensor has a small LED. If one LED is solid and the other is blinking, they’re out of alignment. Loosen the wing nut, adjust the sensor until both LEDs are solid, and tighten. If both LEDs are off, check the wiring at the back of each sensor and at the opener terminal block. Corrosion on the terminals is a common culprit. And here’s where San Leandro’s salt air matters: those sensor connectors are low-voltage and unsealed. In a garage near the Bay, we see oxidation on the sensor terminals that inland homeowners rarely deal with. A quick scrape with a small brush or emery board and a reconnection often solves it. If the sensor wiring has been spliced with wire nuts by a previous owner, those splices are even more prone to corrosion. A specialist can redo the splice with sealed connectors in five minutes.
If both LEDs are solid but the door still reverses, the problem is usually a limit or force setting that’s drifted, or an obstruction at the bottom edge of the door. Small rocks, dirt buildup, or a slightly warped bottom seal can trip the reversal system. Clean the door’s bottom edge first, then test. If it still reverses, the force settings may need a small adjustment, which is a safe DIY task on most openers. Turn the force adjustment knob slightly clockwise (check your opener’s manual for the exact location), test, and repeat until the door closes reliably without reversing.
Panel Damage: Cosmetic Today, Structural Tomorrow
Door panels are the largest visible component of your garage door, and damage to them falls into two categories: the kind that looks bad and the kind that affects function. A dent from a bicycle handlebar is usually cosmetic. A crack at the edge of a panel, or a panel that’s starting to bow or sag, is structural.
Here’s the issue with panel damage: your garage door panels are sectional. Each panel connects to the next with hinges, and the whole assembly depends on every panel being rigid and straight. When one panel starts to weaken, the door’s weight distribution changes. The springs are balanced for a door of a specific weight, and a buckled panel changes that calculation. A door with a sagging panel will often hang slightly crooked, which accelerates roller and track wear. Left unaddressed, a sagging door can eventually derail from its tracks altogether.
Some panel damage is repairable. Steel panels with minor dents can often be straightened or patched. But significant damage usually calls for replacement. And here’s the honest advice: on many older doors, replacing one panel costs a significant fraction of a full new door, especially when you factor in finish matching. When we talk to San Leandro homeowners about panel repair versus replacement, we always give them the numbers for both options and let the math speak. A new Amarr or Wayne Dalton door with modern insulation and a fresh warranty is sometimes the smarter long-term play than patching a fifteen-year-old door that’s already showing wear elsewhere.
Wood doors are a different story. They’re more susceptible to moisture damage in San Leandro’s Bay-influenced climate than steel doors from Clopay or Raynor. If you have a wood door and notice soft spots, paint bubbling at the bottom edges, or visible rot, address it before the panel loses structural integrity.
What’s Actually Safe to Fix Yourself
Most San Leandro homeowners want to know what they can handle themselves before calling anyone. Here’s an honest list, based on what we tell our own neighbors:
- Sensor realignment: Safe. You’re adjusting a low-voltage component with a wing nut. No spring tension involved.
- Limit adjustment: Safe. You’re turning a small plastic knob or pressing a button on the opener. The worst realistic outcome is a door that stops too high or too low.
- Force adjustment: Safe with a caveat. Increasing force tells the door to push harder against an obstruction. Increase it only in small increments, and never to compensate for a door that’s clearly binding or heavy.
- Lubrication: Safe. A spray lubricant (white lithium or a dedicated garage door lubricant, not WD-40) on the rollers, hinges, and springs reduces friction and noise.
- Battery replacement in remotes and keypads: Safe. If your remote works intermittently but the wall button works fine, the remote battery is the obvious first suspect.
On the other side of the line: spring replacement, cable re-winding, bottom bracket replacement, and any work that involves loosening the red-painted hardware on a torsion spring. These components are under stored mechanical energy that can release without warning. A trained professional with the right winding bars, the right technique, and years of repetition handles these jobs as a matter of routine. For a homeowner working from a YouTube video, the risk is asymmetric: the mistake is irreversible and the injury is serious. This is not a “you can probably figure it out” situation.
One more note for San Leandro homeowners: many older homes have lower ceiling clearance in the garage. If you’re lubricating or inspecting overhead components, mind the clearances. And if your door was installed when the house was built, there’s a good chance the springs have been replaced at least once since then. Springs typically last five to eight years in this climate, longer when they’re kept clean and lubricated.
Common Mistakes to Avoid
- Unplugging the opener to reset it before reading the error code. The blinking LED is telling you what failed. Resetting it first erases the diagnostic information and forces the technician to start from scratch. Note the code, then reset.
- Continuing to press the remote when the door clearly won’t move. A broken spring makes the door three times heavier. Every time you press that button, the opener strains against a load it was never designed to handle. You’ll turn a $300 spring replacement into an $800 spring-and-opener replacement.
- Spraying WD-40 on everything. WD-40 is a penetrant and water displacer, not a garage door lubricant. It strips away the existing grease and leaves metal surfaces under-lubricated. Use a white lithium spray or a dedicated garage door lubricant on rollers, hinges, and springs.
- Treating the door and opener as one machine. The door and the opener are separate subsystems. When the opener runs but the door doesn’t move, the opener is usually fine. Don’t pay for an opener replacement when a spring is the fault.
- Assuming sensor problems mean the sensors need replacing. Most sensor issues are alignment, wiring, or corrosion problems, and the fix costs a fraction of new sensors. Check the LEDs and the wiring before buying parts.
- Ignoring a track that “occasionally” sticks. Intermittent sticking almost always becomes permanent sticking. The underlying cause (a loose bracket, a worn roller, a slightly bent track) doesn’t fix itself.
- Attempting spring work after watching a video. This bears repeating. Torsion springs can kill or maim. The money you save is not worth the risk to your hands, your face, or your life.
When to Call a Professional
Call a specialist when the problem involves springs, cables, bottom brackets, or any component under tension. Call when the opener’s error code indicates a motor or logic board failure, which is beyond DIY repair. Call when the track is visibly bent or the door has shifted off-level. And call when you’ve tried the safe DIY fixes and the problem persists. The honest truth about garage door repair: some problems are quick and inexpensive to fix, and some require replacing a major component. A good specialist tells you which one you’re facing before any work begins. Crestview Garage Door Repair offers free estimates for every San Leandro homeowner, with the price agreed in writing before the first tool comes out. Call (855) 356-4591 if you’re stuck, or if you just want a second opinion on a diagnosis you’ve been given.
Frequently Asked Questions
Your safety sensors are misaligned, blocked, or have a wiring fault. Check the LEDs on both sensors: if one is blinking, realign it until both are solid. If both are solid and the door still reverses, check for debris on the bottom edge of the door or adjust the close-force setting slightly.
When the motor runs but the door stays put, the likely causes are a broken spring, a stripped drive gear, or a detached coupler. The opener is working; the connection between the opener and the door is not. For spring failures, stop using the door and call a professional. For drive gear or coupler issues, a specialist can diagnose and repair the opener on-site.
LiftMaster and Chamberlain openers use a diagnostic LED that blinks in specific patterns. One blink indicates a sensor problem. Four blinks indicate an obstruction or force-setting issue. Five blinks indicate a motor overheat or RPM sensor failure. Check your opener’s manual for the exact code chart for your model.
Yes. Limit adjustment is a low-risk DIY task that involves turning a knob or pressing a button on the opener. The door simply travels a bit farther or stops a bit sooner depending on the adjustment. No spring tension is involved.
San Leandro’s mild climate means no freeze-thaw or snow-load issues, but the Bay-influenced salt air accelerates corrosion on springs and sensor connectors. We see more sensor terminal oxidation and spring-surface rust here than in inland communities. Regular cleaning and lubrication help, and sensor connectors should be inspected if your door starts reversing unpredictably.
The cost depends entirely on which subsystem failed and what parts it needs. Sensor realignment might cost nothing if you do it yourself, while a full spring replacement and a new opener are separate, more involved jobs. We quote every job in writing before work starts, so the number you agree to is the number you pay. Call (855) 356-4591 for a free estimate.
The Bottom Line
Garage door troubleshooting comes down to one principle: identify the subsystem before you touch anything. The door and the opener are separate machines. The springs, tracks, sensors, and panels each fail in their own ways, with their own symptoms. If you approach the problem the way a technician does, you’ll either fix it yourself or call someone with an accurate diagnosis already in hand. And in San Leandro’s salt-air environment, regular maintenance matters more than it does inland. A little lubrication, a quick sensor check, and an eye on spring corrosion will prevent most of the breakdowns we see. When a problem is beyond the safe DIY list, call a specialist who knows your brand.
Written by the team at Crestview Garage Door Repair, serving San Leandro since 2014.
See the difference
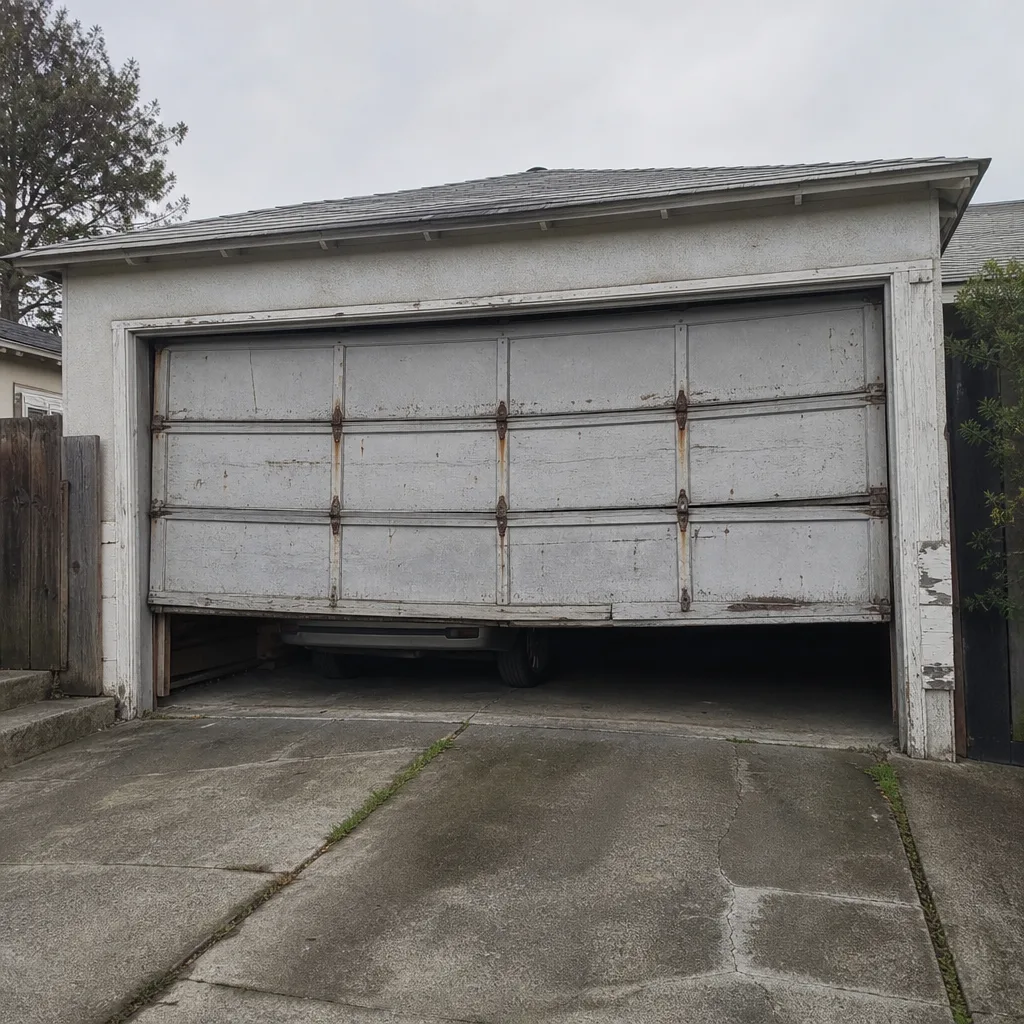 Before
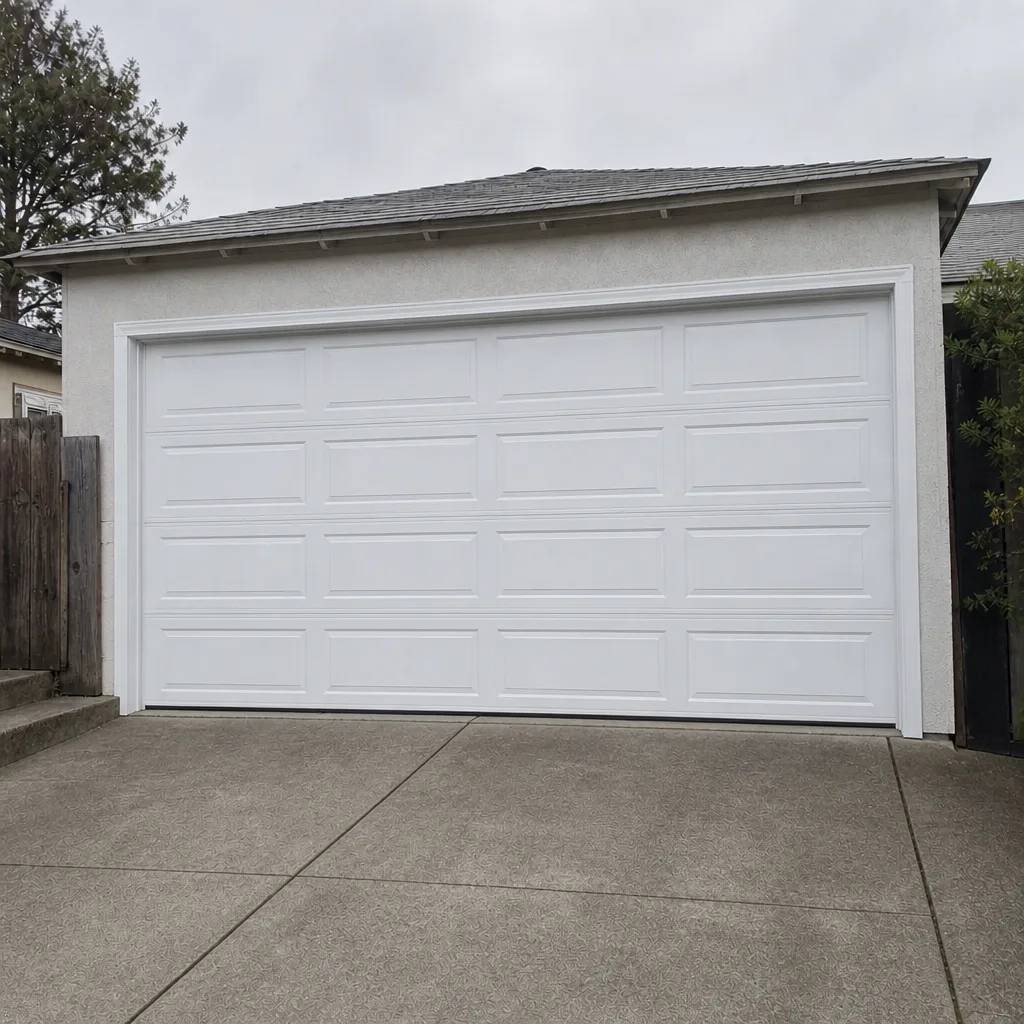 After
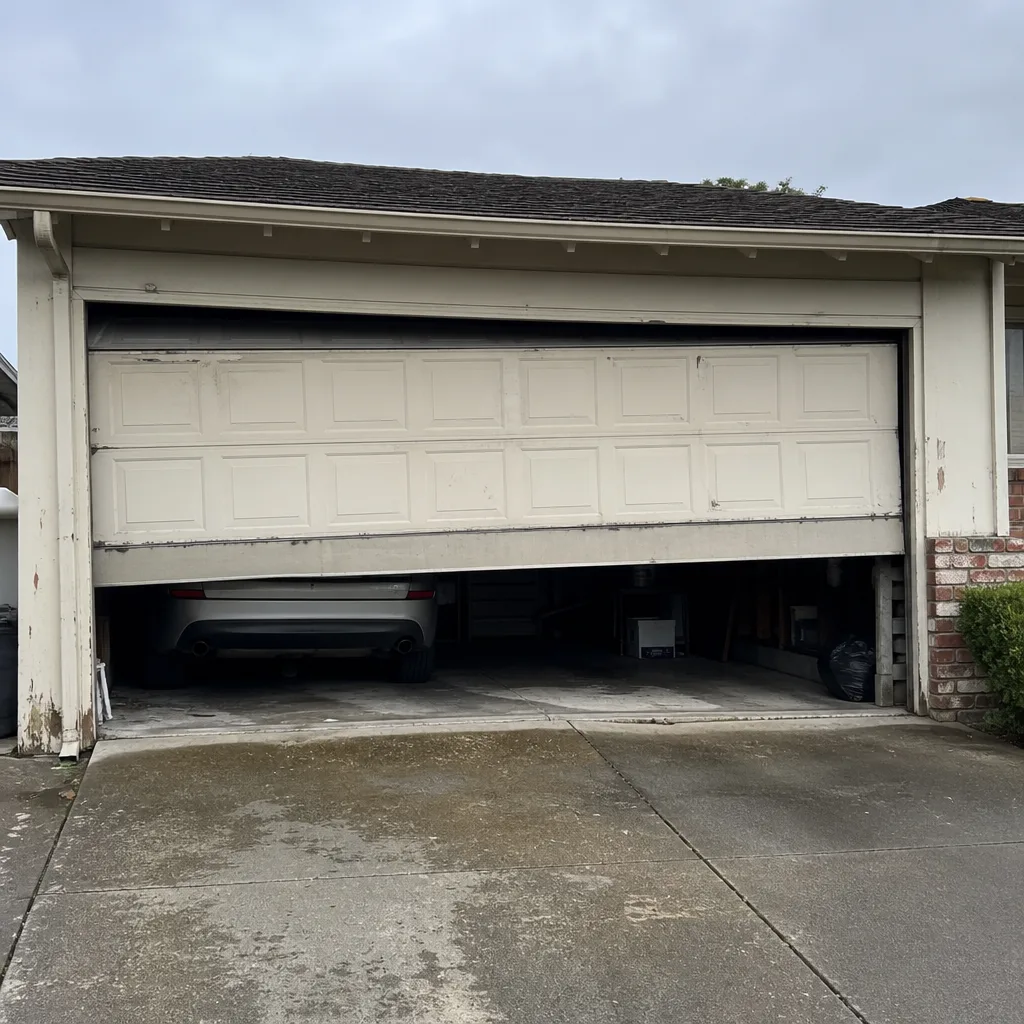 Before
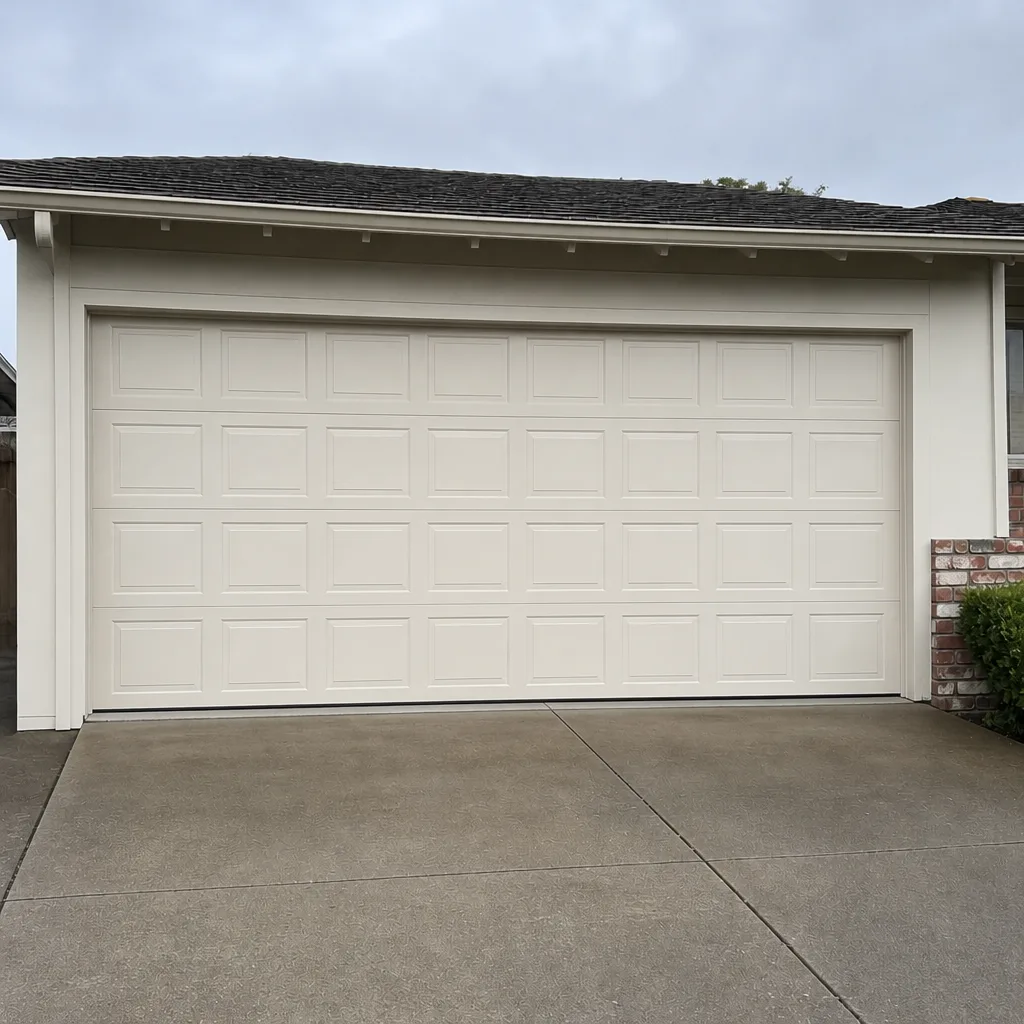 After
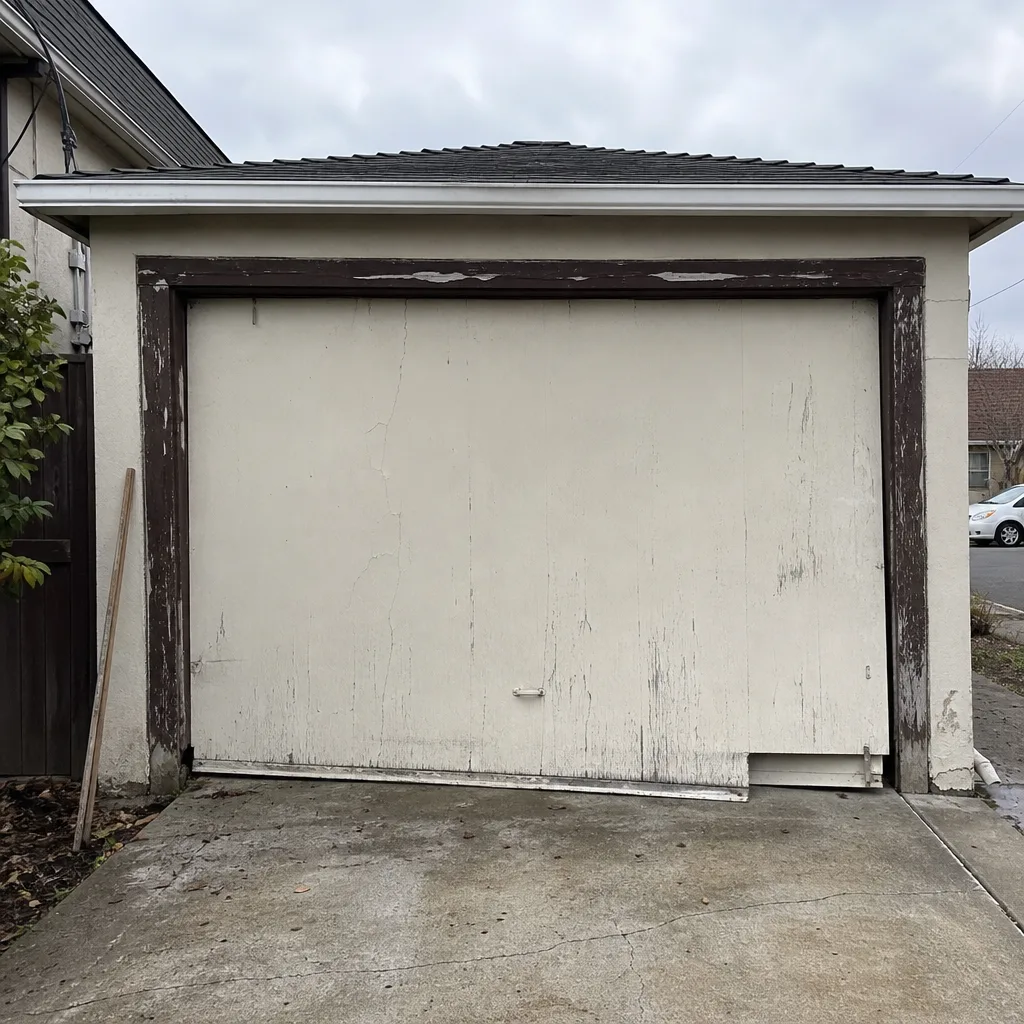 Before
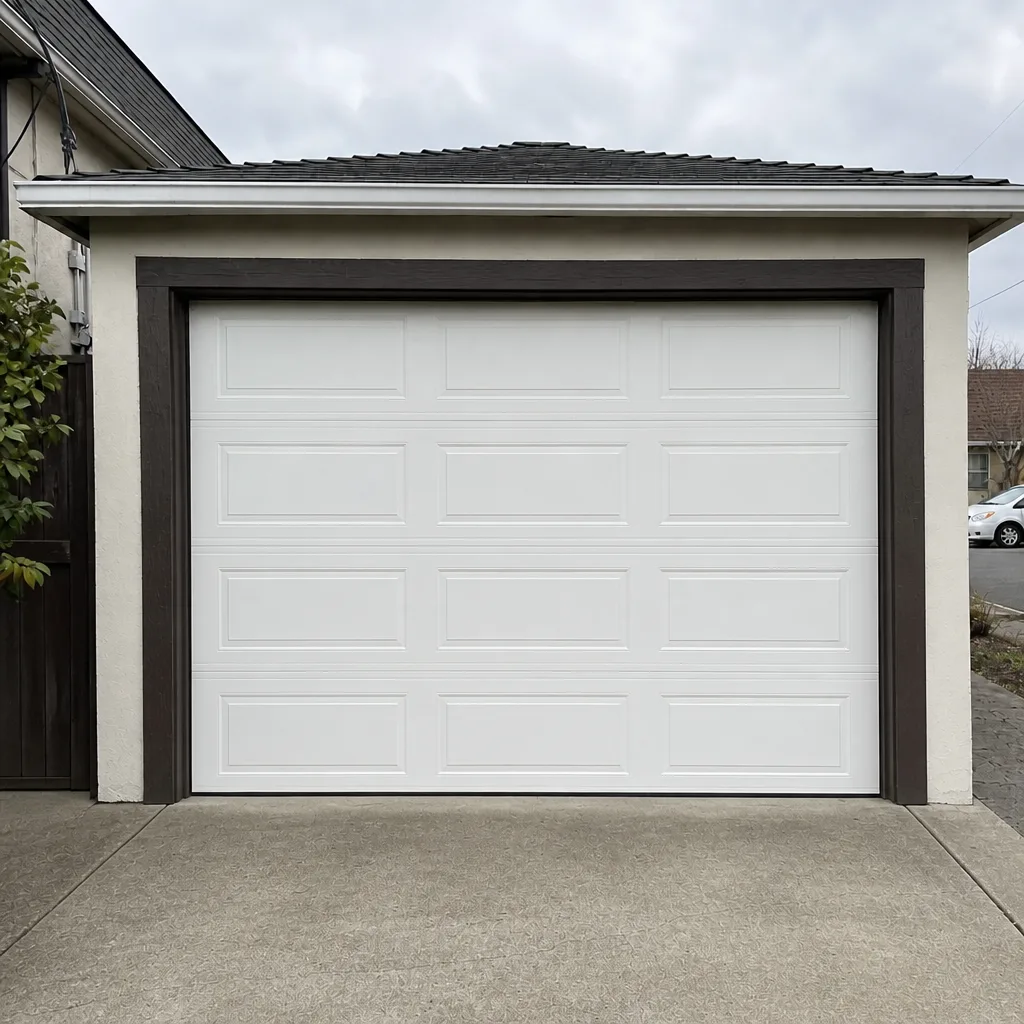 After